The grill is a versatile tool that can do far more than cook burgers and hot dogs. One of its unique advantages is the ability to apply high, direct heat to almost any ingredient, creating exceptional searing, caramelization, and smoky flavour. It’s essentially a fire‑powered stovetop and oven in one, giving you the perfect environment to experiment with new recipes and techniques. Explore a few of our BBQ hacks below and some fun ways to enjoy the season’s favourite culinary pastime. There’s so much fresh to discover!
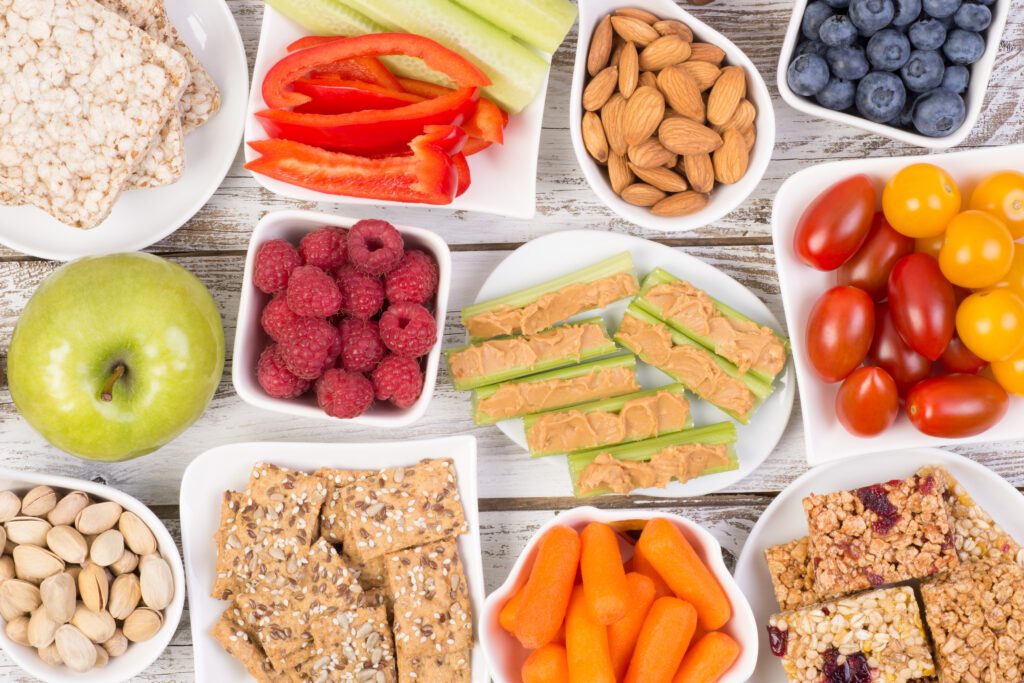
At every Farm Boy fresh‑market location, you’ll find all the essentials for a great day, week, or weekend of barbecuing. From produce that gets you closer to the farm to butcher‑quality meats and house‑made sides, we think you’ll love our carefully curated selection. For the week’s best deals offering the perfect combination of quality, value, and flavour, visit our digital flyer. There, you’ll discover a mix of locally crafted products, seasonal offerings, imported favourites, and so much more.

Blog Overview
- Discover simple ways to cook using coal, gas, or electric barbecue grills.
- Clean the grill exterior by wiping down the outside of your barbecue using everyday items like a cloth, dish soap, a sponge, and water.
- To clean grill grates, scrub with a steel grill brush and scraper, then use produce like lemon, lime, or onion to help lift residue.
- Grease frill grates properly by using a lemon, lime, or onion paired with a high‑smoke‑point oil such as grapeseed oil or convenient Farm Boy™ Avocado Oil Cooking Spray.
- Set up heat zones on your grill: Create a hot‑holding zone (185°F–200°F), a cooking zone (350°F–385°F), and a searing zone (450°F–550°F) for better temperature control.
- Try Farm Boy Summer BBQ Recipes: Korean‑Inspired Short Ribs, Cheesy Jalapeño Cornmeal Muffins, and Grilled Fruit Platter with Tri-Nut Dip.
Prepping the Grill
The start is just as important as the finish when it comes to creating the perfect barbecue experience. At the centre is the all‑important BBQ grill that serves as the force behind the dishes you and your guests will enjoy. Taking the time to properly prepare your grill is essential for achieving the right cook, flavour, and overall grilling success.
Tips for Cleaning the Barbecue
Clean equipment is incredibly important when it comes to food preparation. From the exterior of your BBQ to the oil pans, make sure everything is in good shape before cooking. With soap, a sponge, your garden hose, and a few household items, you can get the barbecue squeaky clean and ready to go!

Before You Start Grilling
- Remove grease and debris
- Clear out built up grease, leftover food, outdoor dirt, and grime using a scraper to keep your barbecue running safely and efficiently.
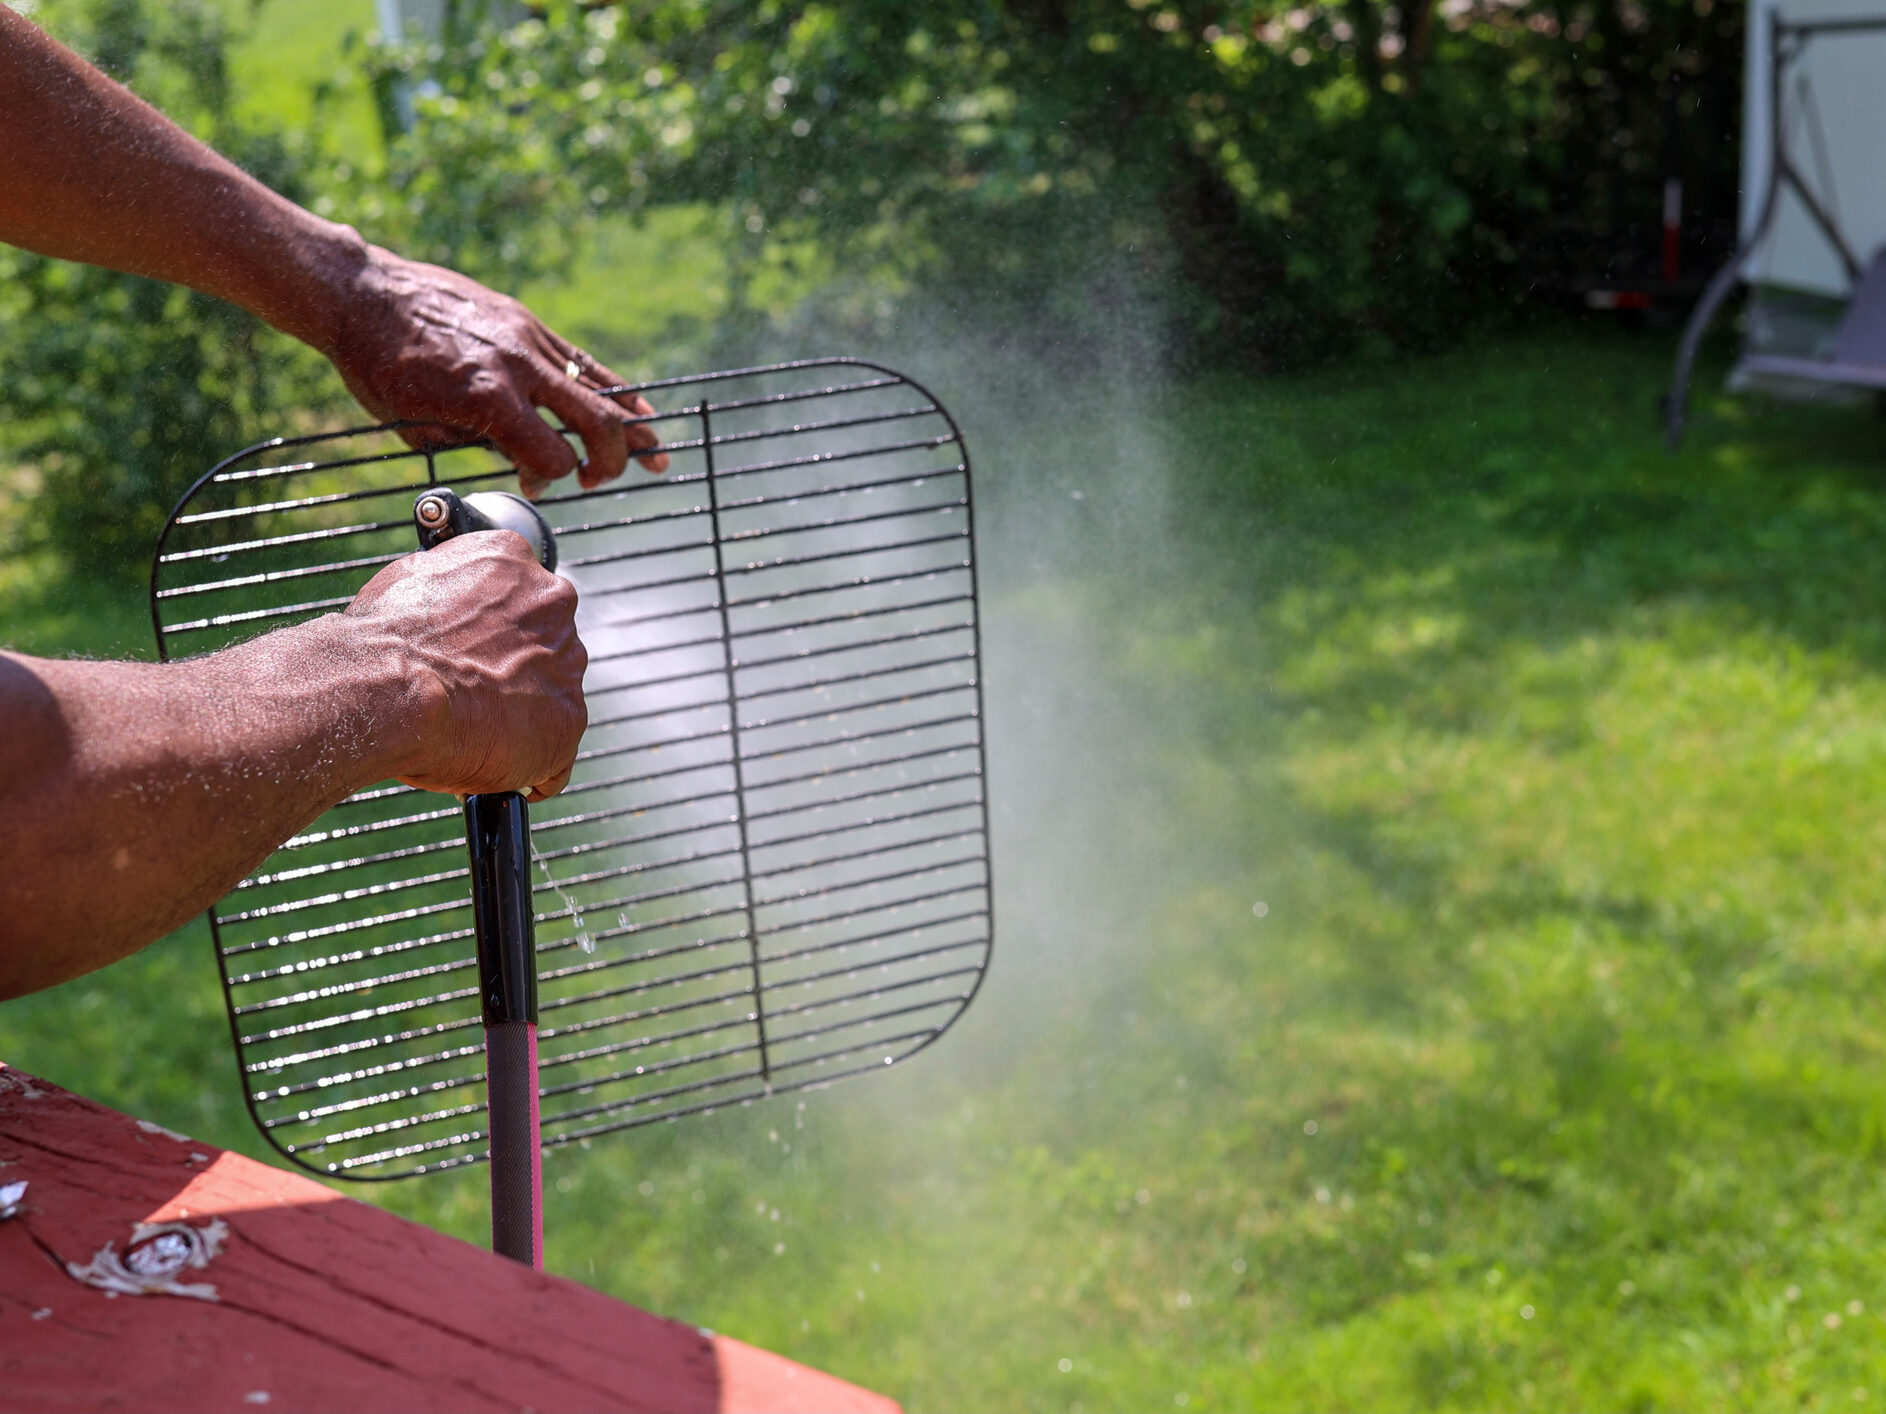
- Wash the exterior
- Use a sponge to lather a little dish soap on your BBQ and rinse with your garden hose for a quick, effective clean that keeps the outside fresh and clear of debris.
- Heat the grill grates
- Turn the barbecue grill to high heat before cleaning the grates; it helps dry and loosen stuck‑on food for easier scrubbing.
- Use a durable grill brush
- We recommend a steel coiled brush/scrubber with a steel scraper head on your grill grates. They’re a sturdy long‑lasting tool that’s ideal for deep‑cleaning sessions.
Tools for the job:
- Sponge
- Dish soap
- Garden hose
- Steel wool (for grill grates)
- Steel kitchen/spackling scraper (to periodically remove interior grime/buildup)
- Steel brush
How to Clean and Season Grill Grates with Produce
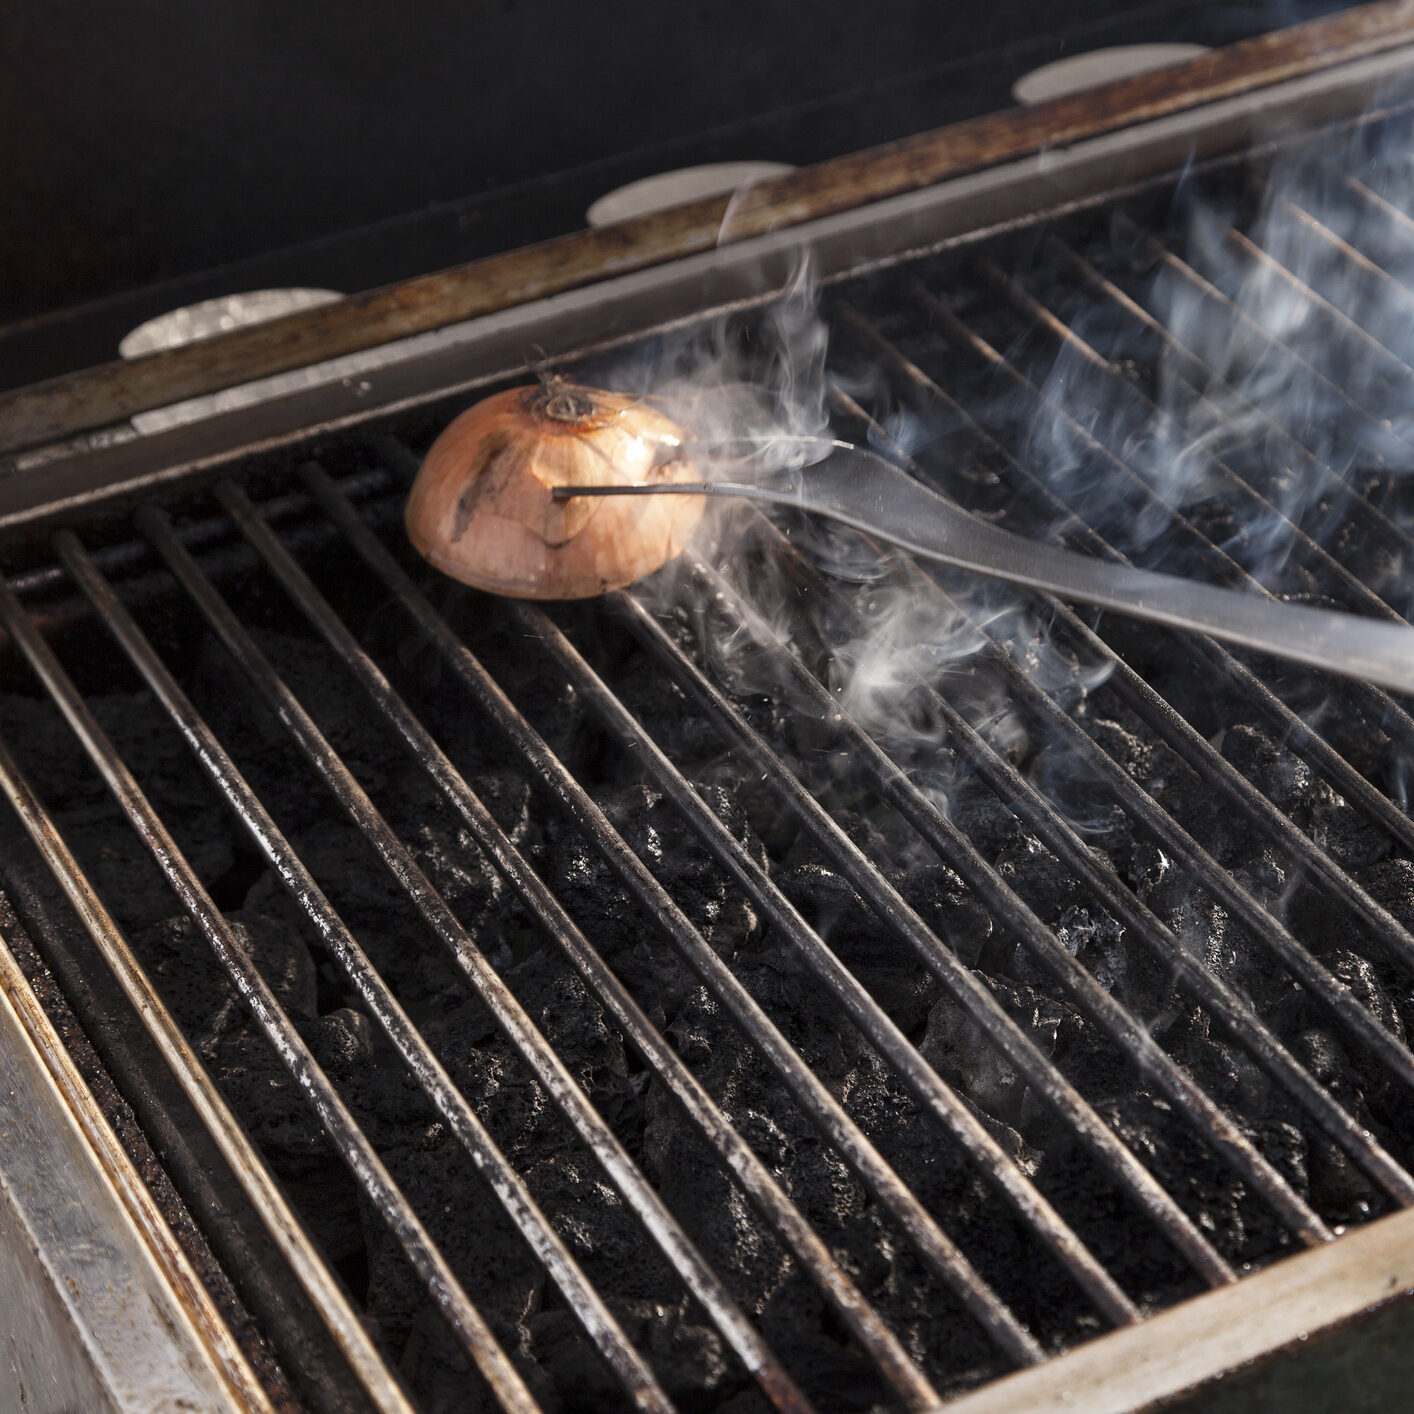
You read correctly! Use natural ingredients like onions, lemons, or limes for a quick and easy way to clean grease and residue off of your grill grates.
Tip: Use a grill brush to scrape off tough, sticky debris and onions or citrus to finish, season, and grease the grates.
- Try the onion or citrus method
- Cutting an onion, lemon, or lime in half and using the open side to scrub the hot grill grates helps lift buildup quickly and easily.
- Season as you clean
- These natural cleaners don’t just remove residue, they also help lightly season the grates for better grilling.
- Use long tools for safety
- Always use long tongs or a grill fork to keep your hands safely away from the heat.
- Add oil for a non‑stick surface
- After some initial cleaning, drizzle a little high‑smoke‑point (grape seed or avocado wok well) on the open side of your onion or citrus or dip from a small container. Next, rub it over the grill grates to help create a non‑stick surface.
- Grease grill grates with a paper towel
- You can also apply oil using a folded paper towel held with tongs for a non-stick finish.
- Our convenient Farm Boy™ Avocado Oil Cooking Spray is also an easy choice for greasing BBQ grill grates.
CAUTION: Be mindful of flames caused by dripping oil during the cleaning process. This is why it is super important to control the heat of your grill and to use the proper utensils. If possible have a fire extinguisher handy!
Lighting the Grill and Maintaining Heat
Gas Grills
Main Advantage: A gas grill has the ability to regulate temperature more easily compared to charcoal. This is due to its knobs that control the flow of gas and therefore, heat.
Lighting & Heating Tips:
- Start with high heat
- Always begin by turning your grill to high heat, whether you’re cleaning the grates or prepping to cook.
- Create ideal cleaning and searing conditions
- High heat helps loosen and burn off debris for easier cleaning and provides the perfect temperature for searing.
- Close the hood
- Keep the lid closed so the grill can reach a high internal temperature—typically around 500°F.
- Adjust to proper heating zones
- Once you’ve reached searing temperature (minimum 450°F), turn your dials down to their designated zones.
- As a rule of thumb: set one burner to high, one to medium, and one to low for versatile cooking and keeping foods warm.
Cooking Tips:
- Maintain multiple heat zones
- Set up different heating zones in your BBQ to give yourself full control over cooking, holding, and searing.
- Use a slow‑cook or holding zone (185°F – 200°F)
- Keep one side of your grill on low heat for foods that are nearly finished. This prevents drying out or burning and ensures everything is served at its best.
- Cook in the medium zone (350°F – 385°F)
- Treat this area like your oven. Most ingredients will reach proper doneness here with steady, even heat.
- Sear in the high‑heat zone (450°F – 550°F)
- This is your hottest area, perfect for locking in moisture and creating flavourful sear marks on meats and veggies.
Charcoal Grills
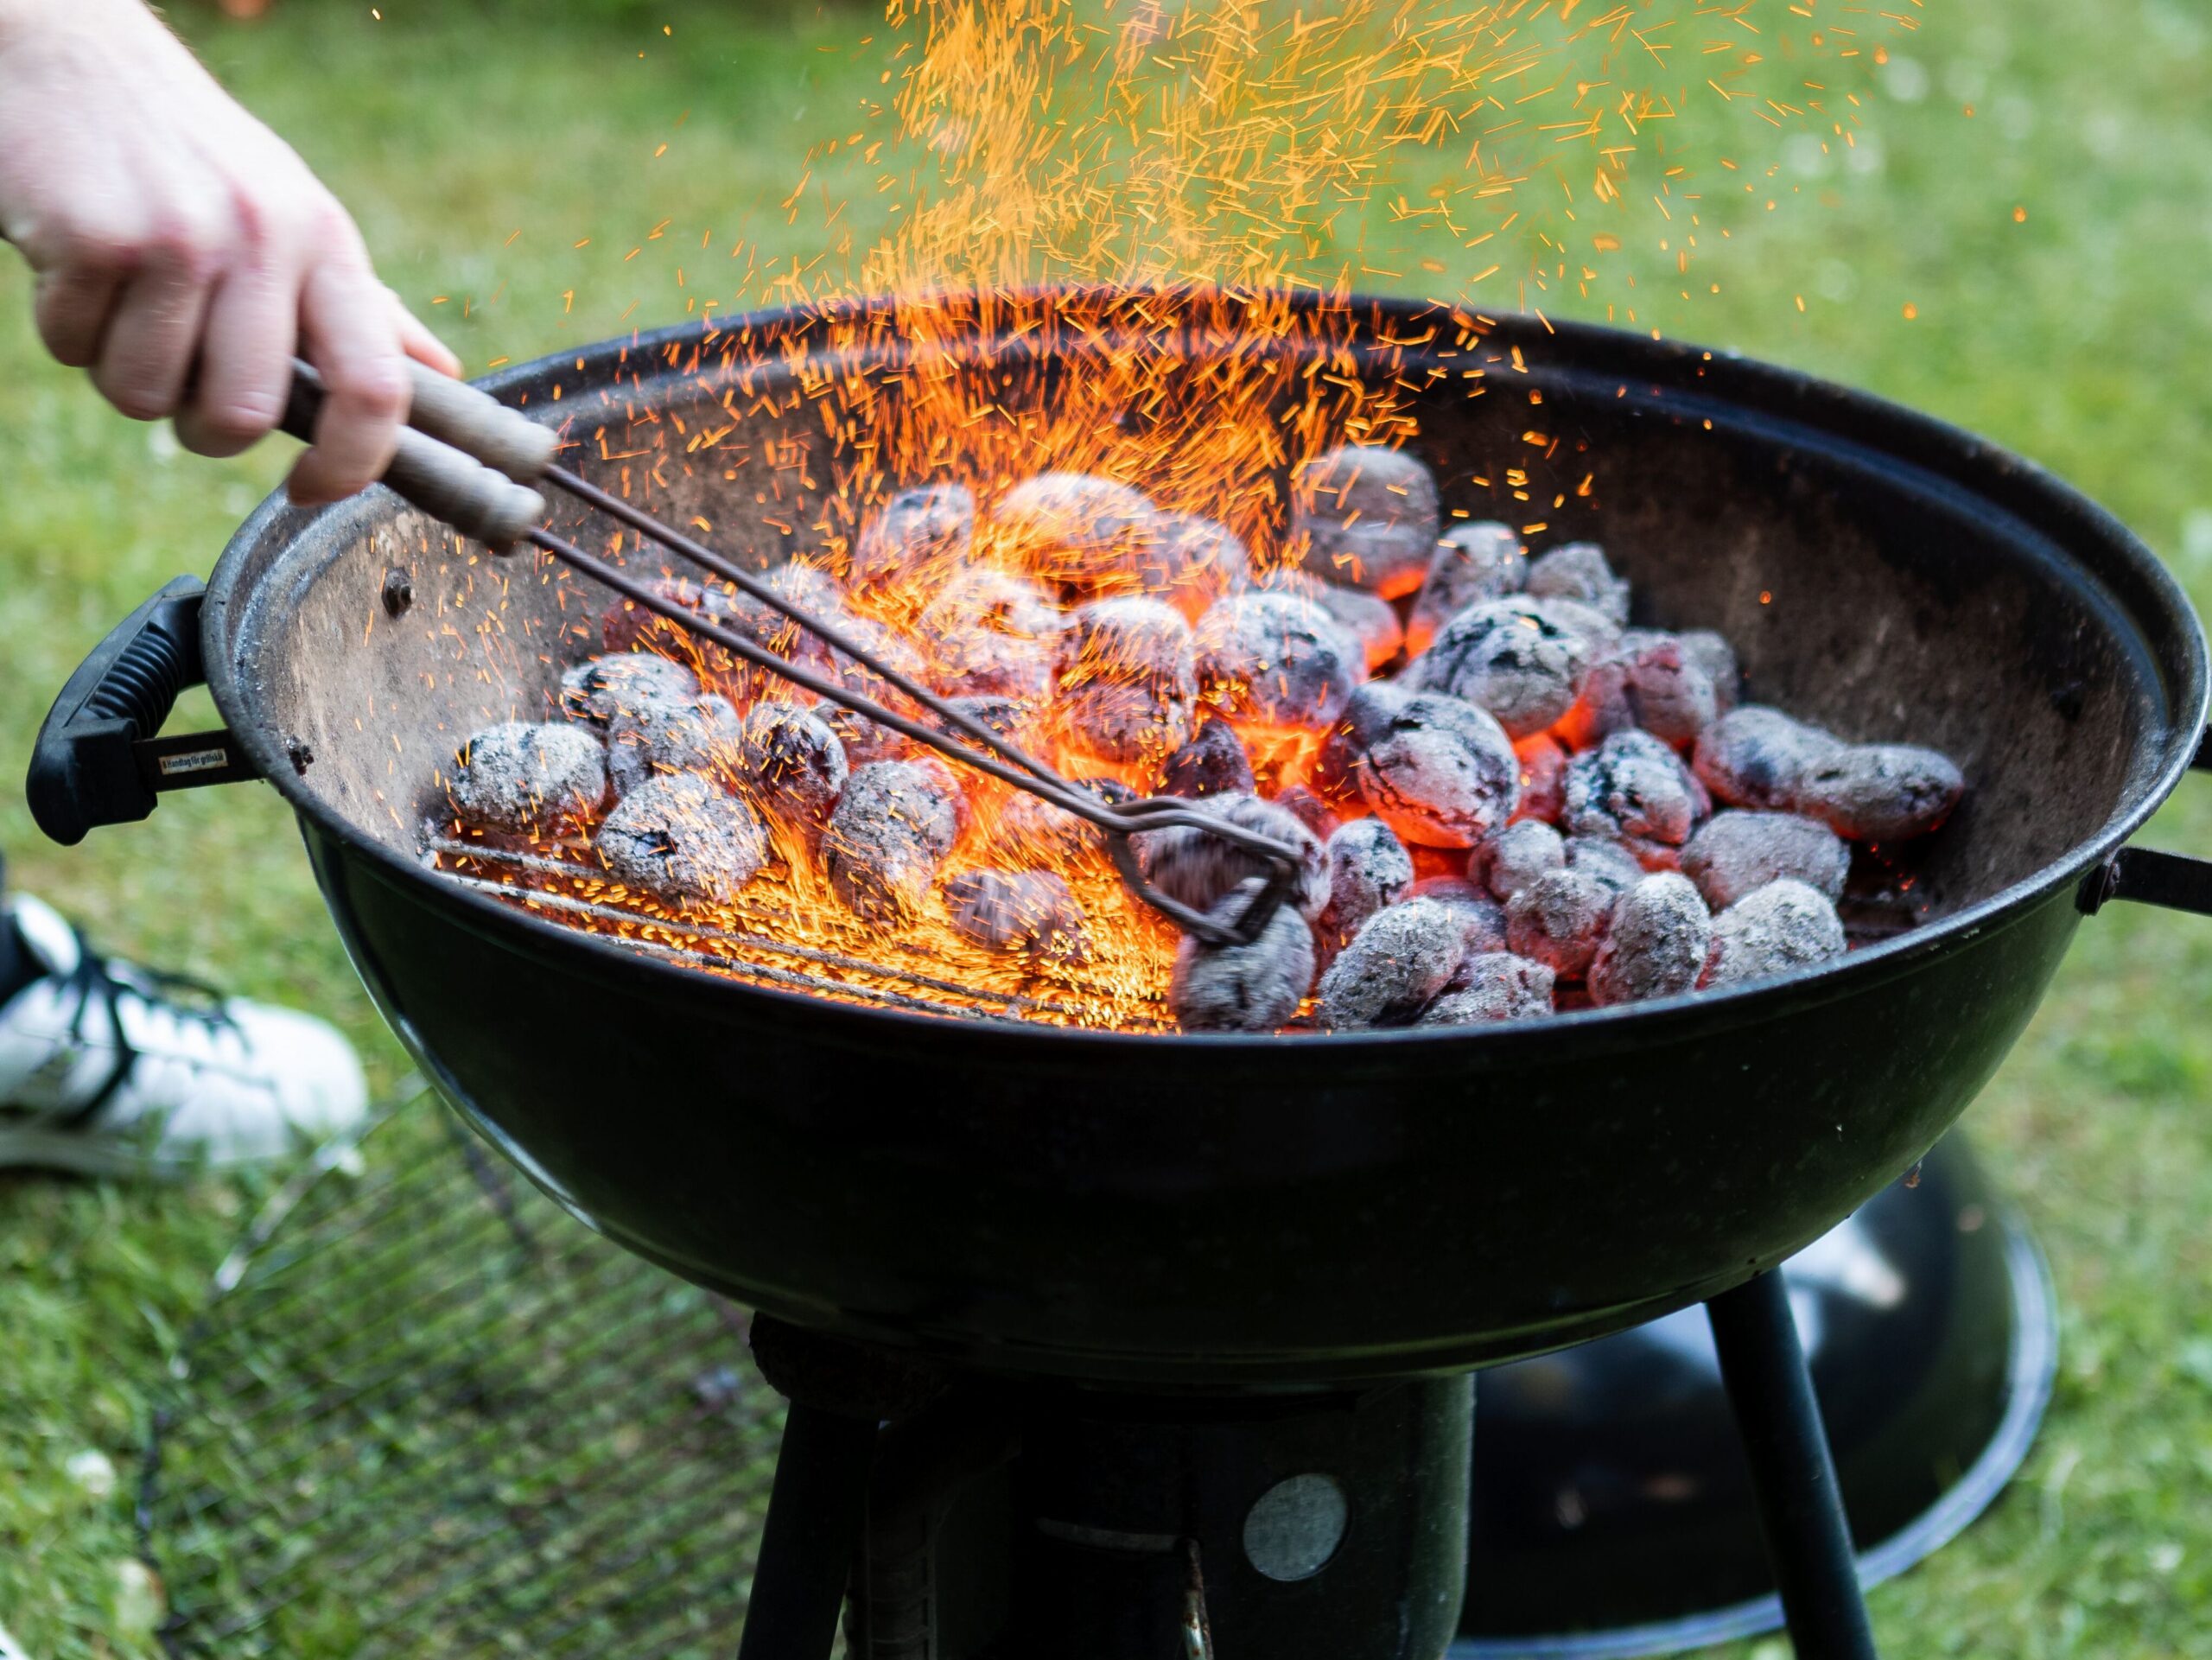
Main Advantage: A charcoal grill stands out for its ability to infuse food with rich, smoky flavour created by burning charcoal or wood. Charcoal grilling also allows you to reach exceptionally high temperatures, producing that signature char and open‑flame sear that barbecue lovers crave.
Lighting & Heating Tips:
- Start your fire with an egg carton
- Use an empty cardboard egg carton as fuel. Place pieces of charcoal in each compartment and light for an easy, reliable fire starter.
- Add and spread hot coals
- Once your coals are glowing red, add more charcoal and spread the hot coals evenly across the barbecue basin for consistent heat.
- Ensure proper airflow
- Make sure plenty of oxygen reaches the lit coals. Most charcoal grills have vents at the bottom or sides and on the lid to keep the fire burning strong. Regulate these openings to suit your cooking needs.
- Fan coals for even heat
- Fan the coals periodically to maintain and ensure that red‑hot heat spreads throughout.
Cooking Tips:
- Create hot and cool zones
- Build temperature zones by placing fewer coals on one side and more hot coals on the other, giving you both direct and indirect heat options.
- Close the lid
- After searing, closing the lid helps your BBQ retain heat, creating an oven‑like environment that cooks food evenly and consistently. It also helps to add that smoky flavour you’re looking for.
- Open vents for higher heat
- Opening the vents on your barbecue and its lid increases airflow, allowing the coals to consume more oxygen and raise the temperature.
- Partially close vents to lower and steady heat
- Reducing airflow by partially closing the vents gradually lowers or stabilizes the temperature, giving you better control during longer cooks.
Electric Grills

Main Advantage: An electric grill is a simple, plug‑and‑play option that makes temperature control easy and consistent. Most models are highly portable and come loaded with convenient features, making them great for small spaces or quick weeknight cooking. They also avoid issues related to open flames because they rely on a coil‑based heating element rather than burning fuel.
Lighting & Heating Tips:
- Give yourself some time
- Turn on and allow your electric grill to warm up a decent amount prior to cooking. They often take a little more time to get to higher searing temperatures.
- A closed lid is important
- Like on a gas grill, closing the lid will help temperatures rise and be maintained more consistently.
Cooking Tips:
- Different cooking technique compared to gas or charcoal
- Just like other grill types, reaching a proper searing temperature locks in moisture and flavour for meats, veggies, and more. After searing, close the lid and avoid opening it. Heat loss leads to longer cook times and loss of moisture.
- Treat it like an oven
- Electric grills excel at steady, even heat. Hands‑off cooking is the key to consistent results.
- Find the ideal heat setting (use a BBQ thermometer)
- After searing, adjust to a stable internal temperature of around 350°F – 385°F, close the lid, and let the grill finish the job without constant checking or opening.
BBQ Heating Zones:
- Slow cook/hot holding zone (185°F – 200°F)
- Medium zone (350°F – 385°F)
- Searing zone (450°F – 550°F)
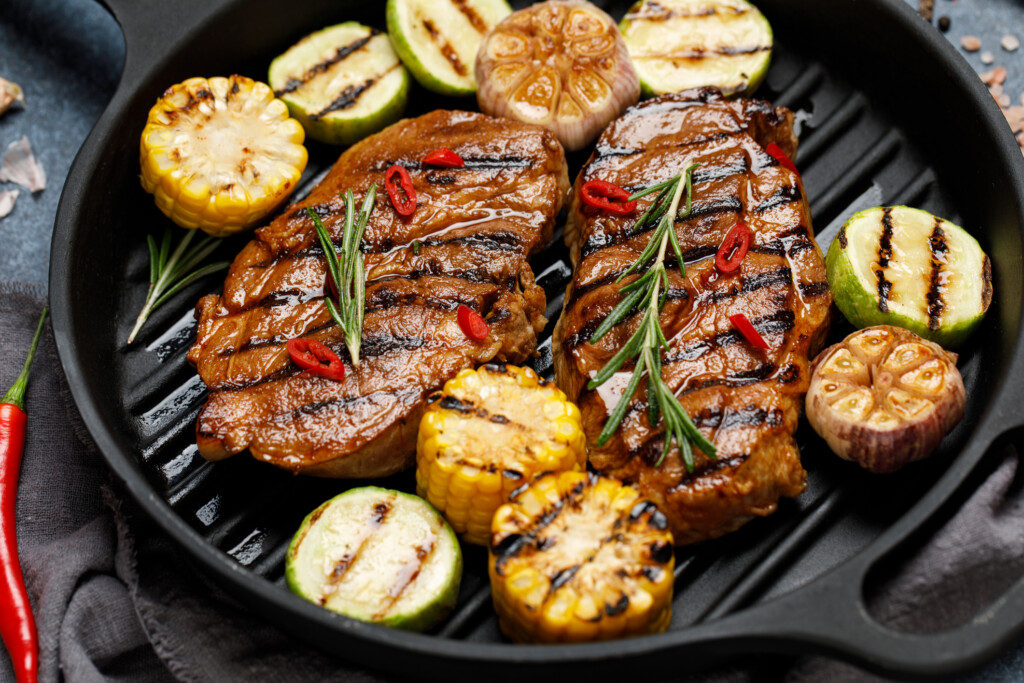
The Food
From seasoning to finishing touches, every step adds layers of delicious flavour to your dishes. There are plenty of things you can do both before and after cooking to bring out the bold BBQ season tastes you crave. Below are some ways to elevate and turn fresh ingredients into unforgettable, tasty memories.
BBQ Seasoning Tips
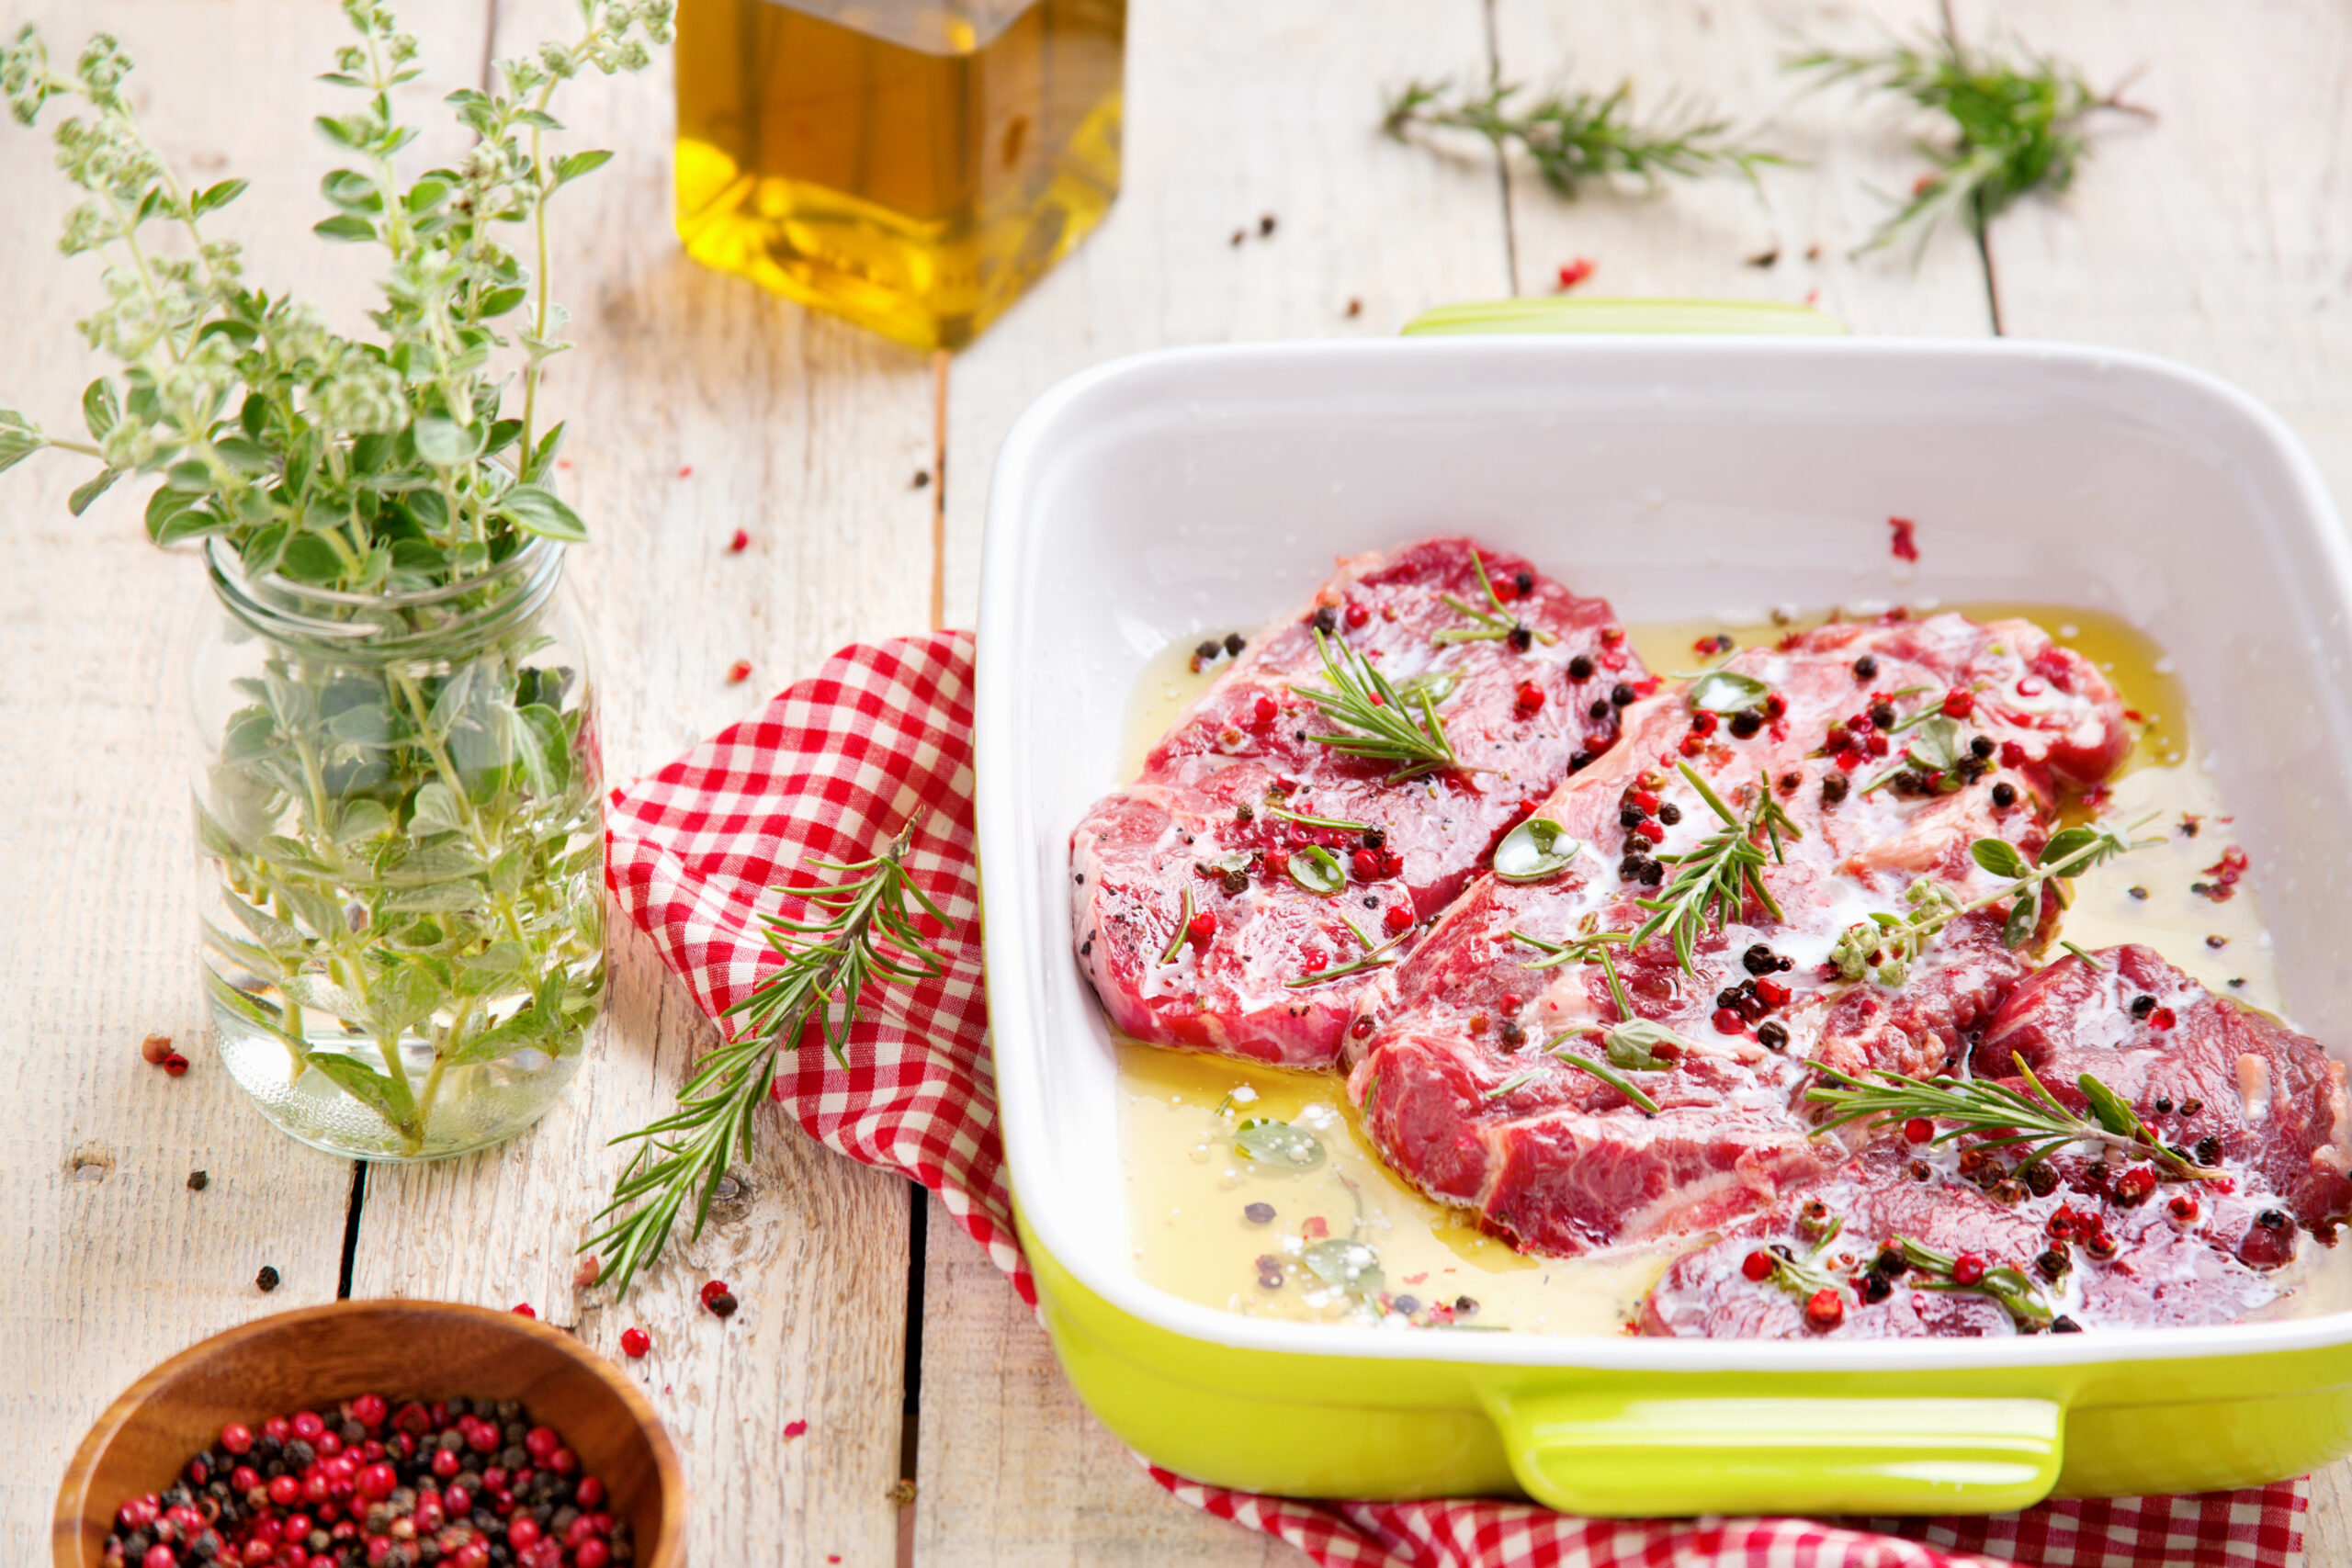
Marinating
- An hour or more is the golden rule of marinating. The longer the flavours sit together, the more deeply they infuse into your ingredients
- If you skip marinating, simply season the food before it hits the grill and continue to lightly season as it cooks.
- Avoid very short marinating times if possible. Marinating for too short a period can actually pull moisture out of meats, leaving them less juicy and less flavourful.
- Our Seasoning Mixes, Cooking Sauces, and Grilling Sauces are an easy choice to add knockout flavour to your dishes.
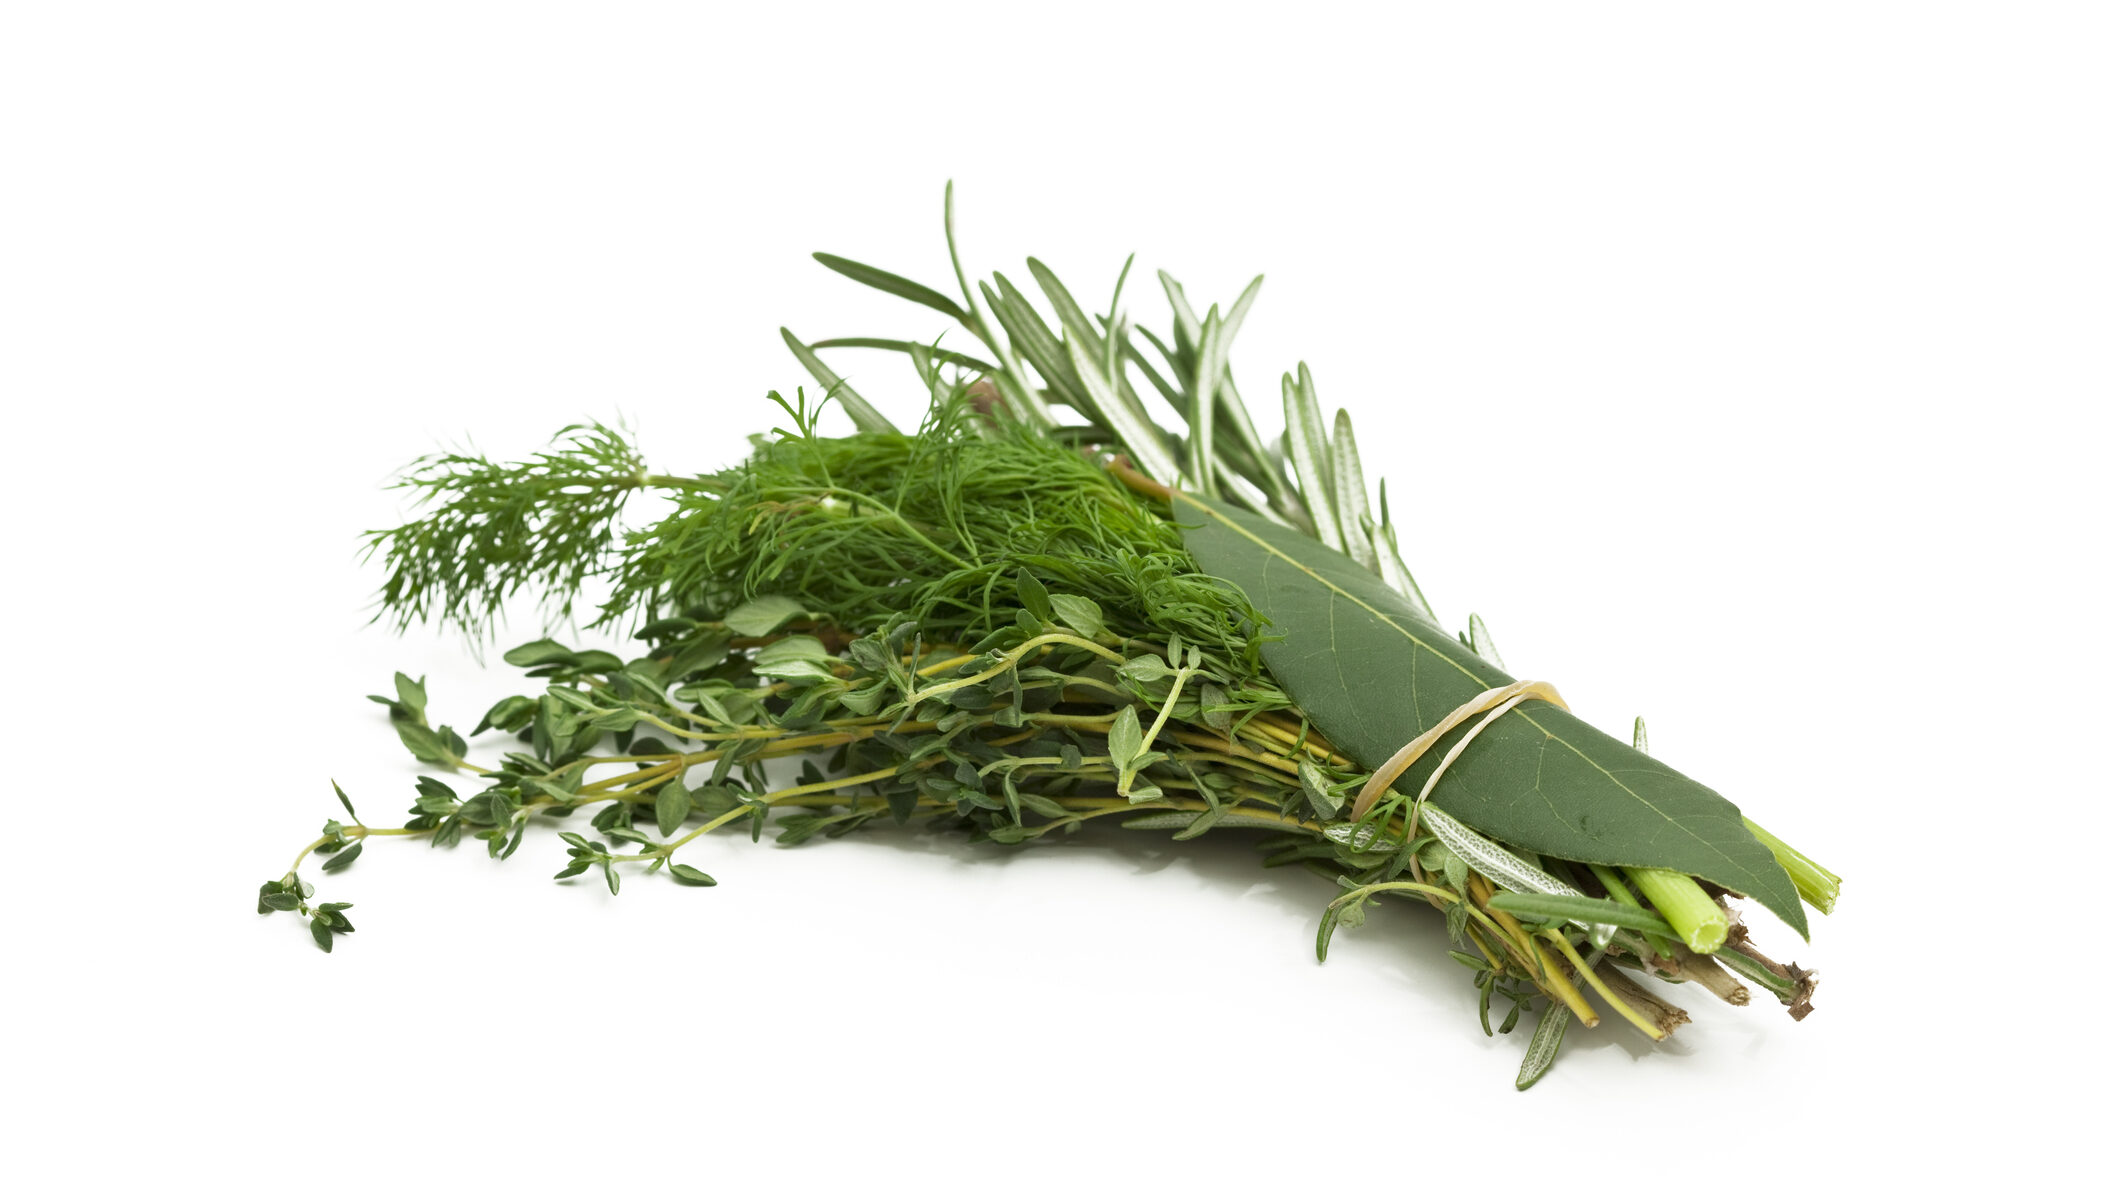
Herbs for Grilling
- In your seasonings, add plenty of dried spices and herbs. They’ll help seal in flavour and release aromatic oils as they heat.
- Create small bundles of fresh herbs or spices to infuse savoury aromas into your dishes. This is achieved when the bundles contact heat and release their flavours through steaming and smoking.
- For charcoal grills, carefully place herb bundles or loose herbs directly onto the hot coals for a burst of smoky, fragrant flavour.
- For gas grills, place herbs in a perforated woodchip tin or wrap them in aluminum foil to create a flavour‑boosting herb pouch, and set onto your grates towards the back of your BBQ.
Getting Perfect Grill Lines
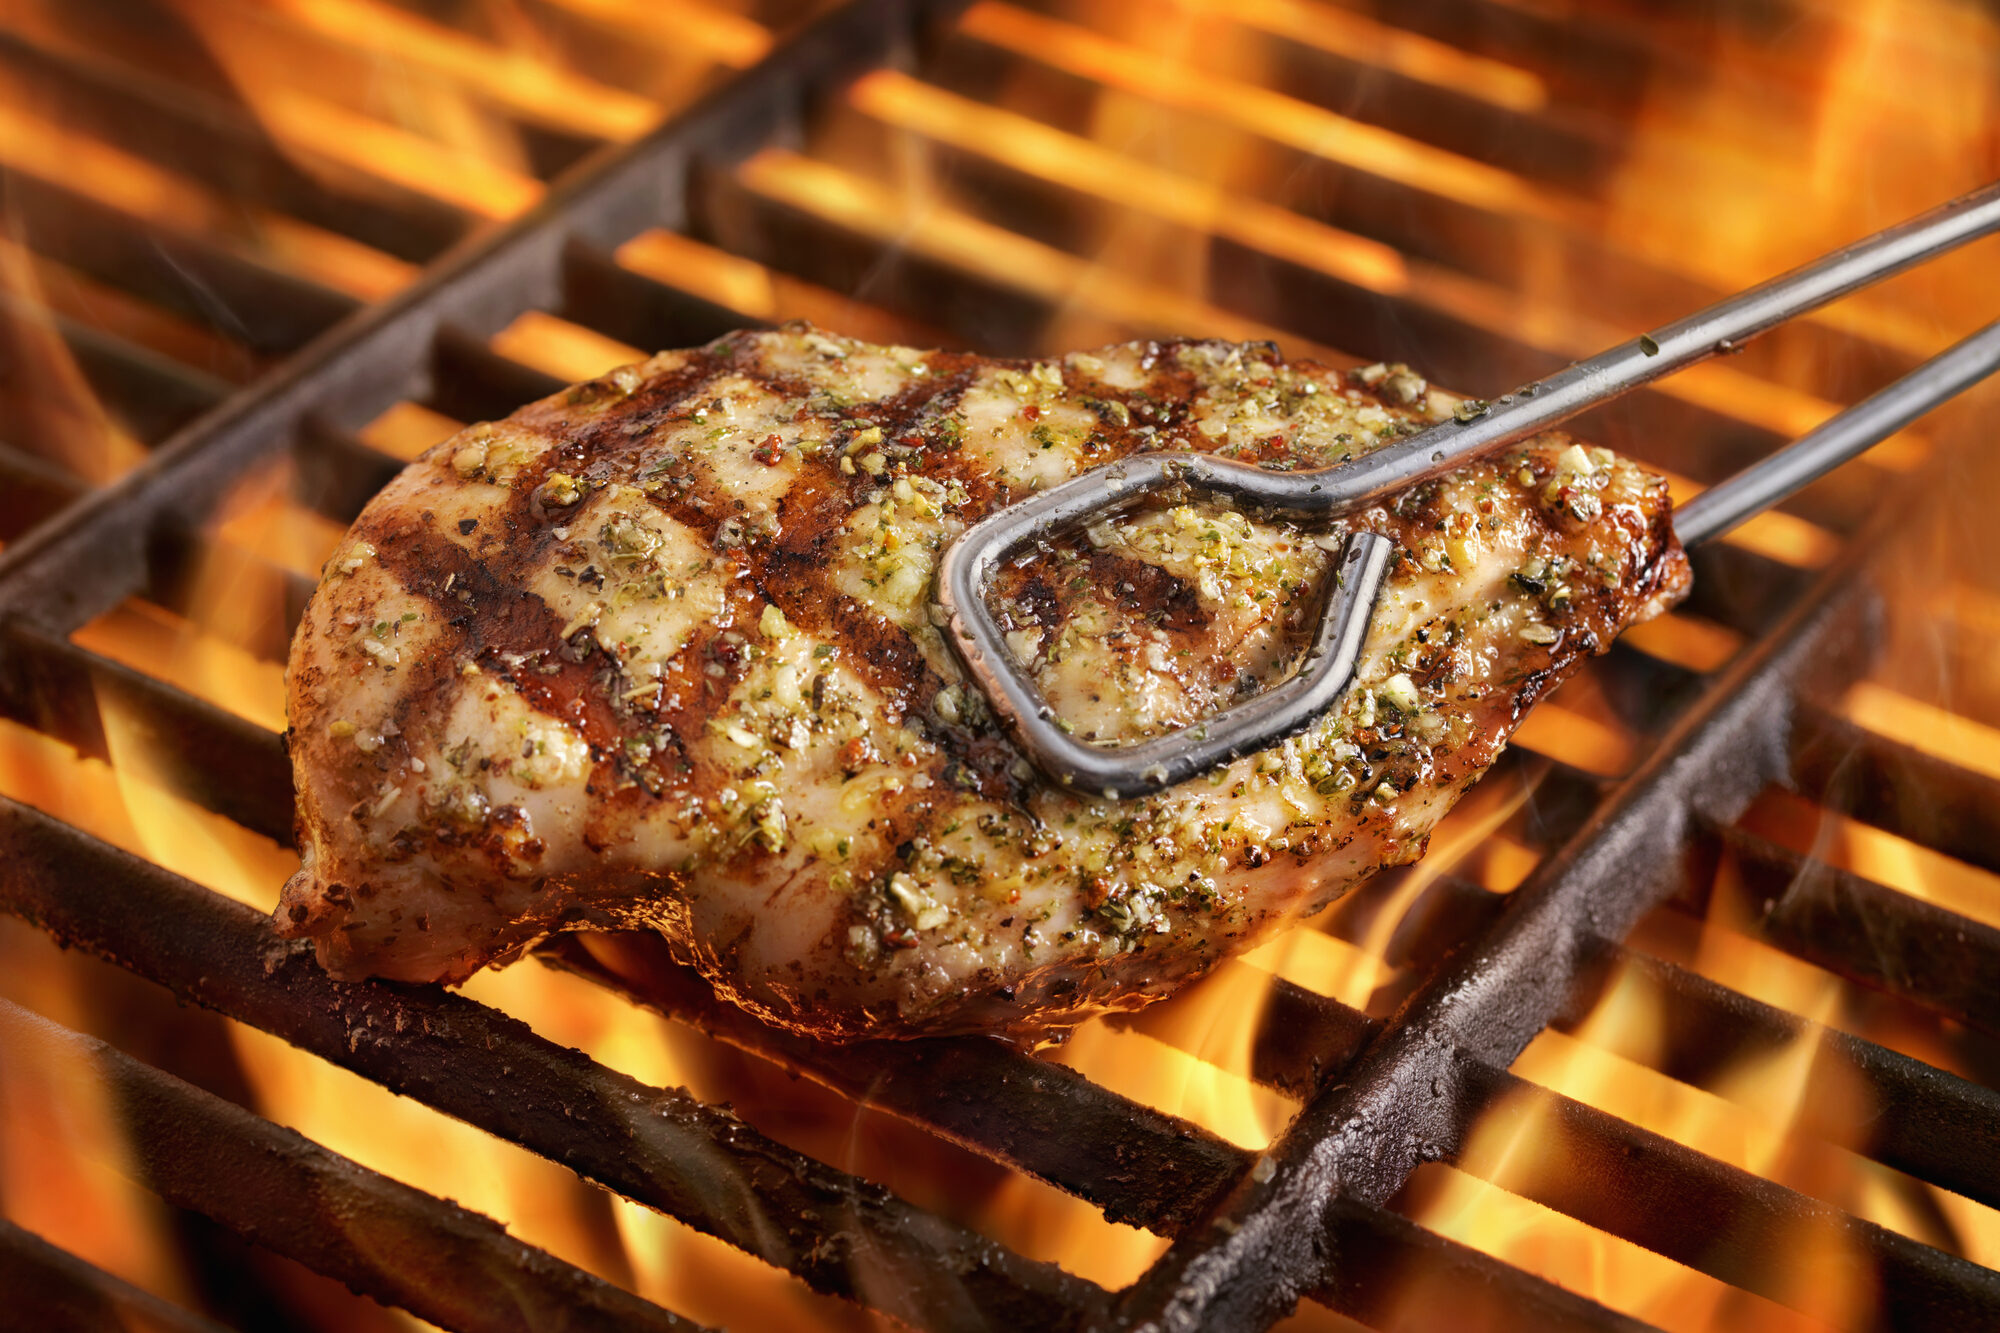
BBQ Searing Tips:
- Searing prevents meat from drying out by quickly cooking the exterior at high heat to create a caramelized crust, before moving them to the main cooking zone.
- Once the grill reaches maximum temperature, place your ingredients on the hottest grates to create a strong sear. Close the lid to rebuild heat, then open it and sear the other side in a fresh hot spot.
- When searing, shift ingredients to unused or open sections of the grill grates. These areas are the hottest and will help you get those smoky charr lines.
- Rotating to new spots helps the grates recover high heat for consistent searing.
The 10 & 2 Rule:
Think of a clock when you’re trying to achieve those professional, restaurant-style grill lines on proteins, fruits, and veggies.
- Once the grill reaches searing temperature (450 – 500°F), set your ingredients on the hot grates at the 10 o’clock position to create the first set of sear marks.
- Close the barbecue lid and allow the grill to return to searing temperature.
- Open the lid and gently lift your ingredients. If the sear lines are dark and defined, rotate the food to the 2 o’clock position to create a classic crosshatch pattern.
- Follow step #2 again, flip your ingredients, and repeat the same 10‑to‑2 rotation on the opposite side.
Keeping Things Moist
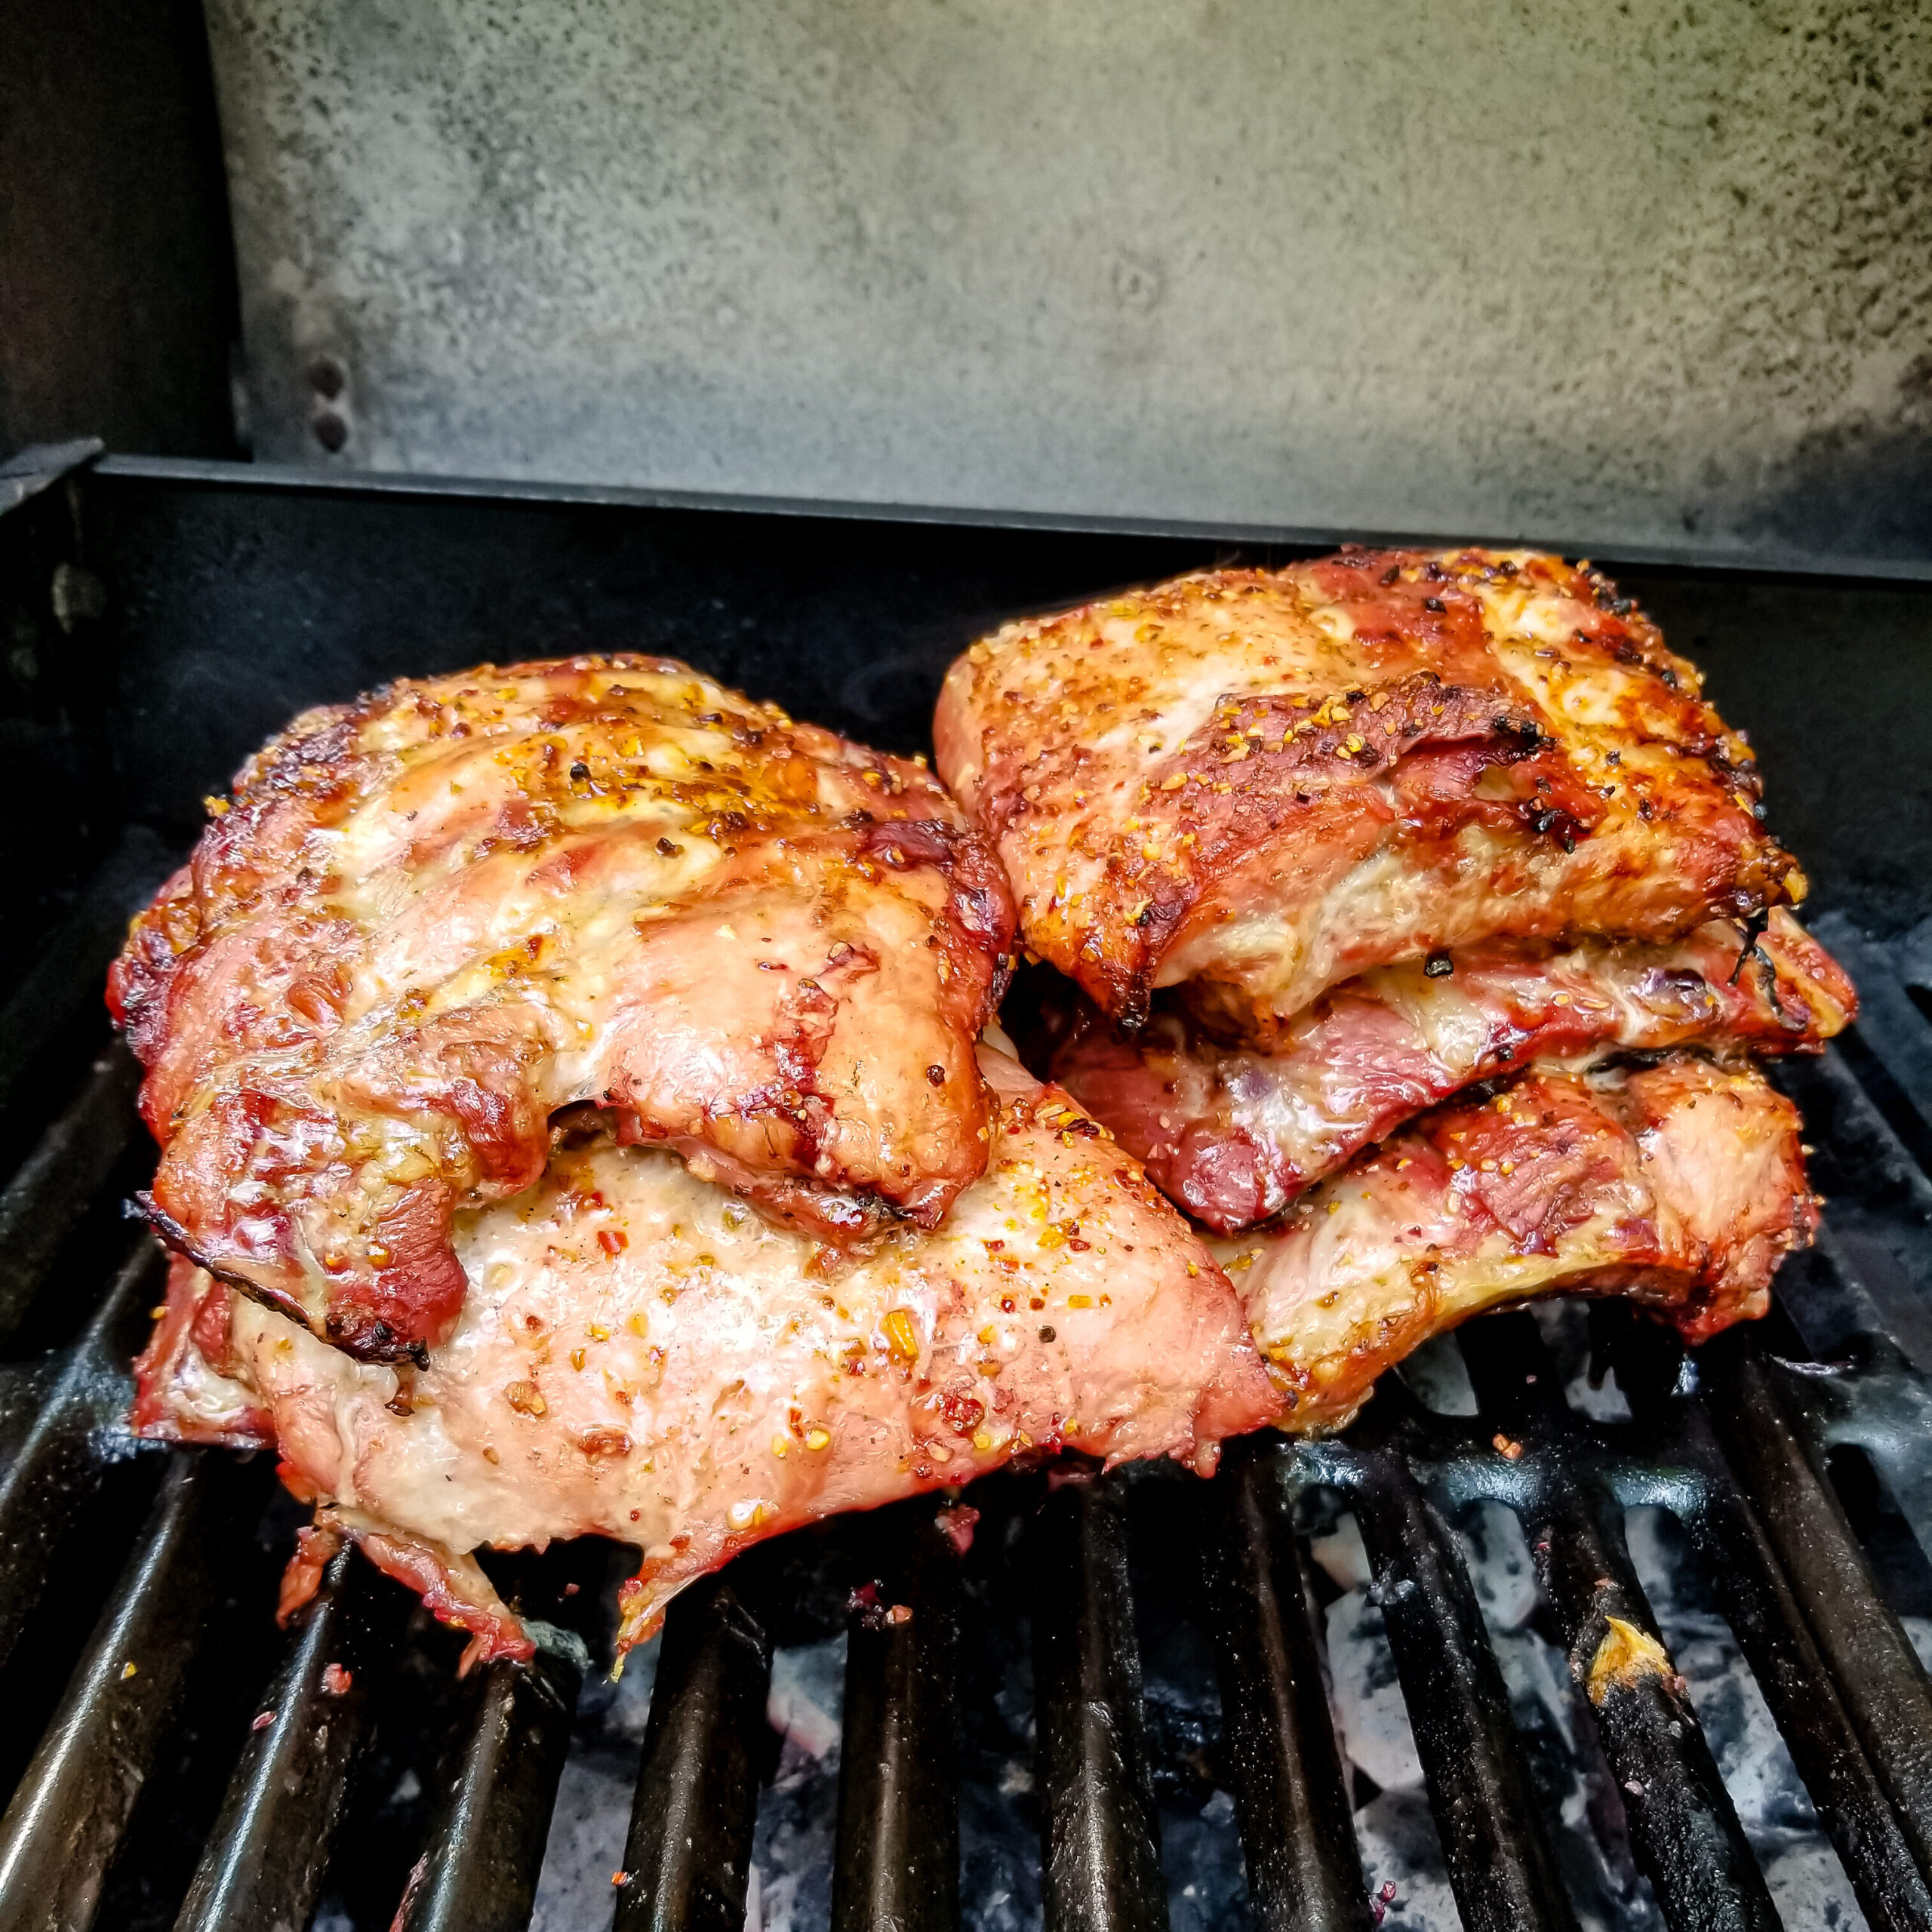
- Stack cooked meats (burgers, steaks, chicken thighs, etc.) in the holding section of your grill to create a natural “moisture trickle-down” effect. The juices from the top pieces baste the ones below, helping minimize moisture loss while you wait for the rest of your ingredients to finish cooking.
- Stack larger sized meats at the bottom and smaller ones at the top
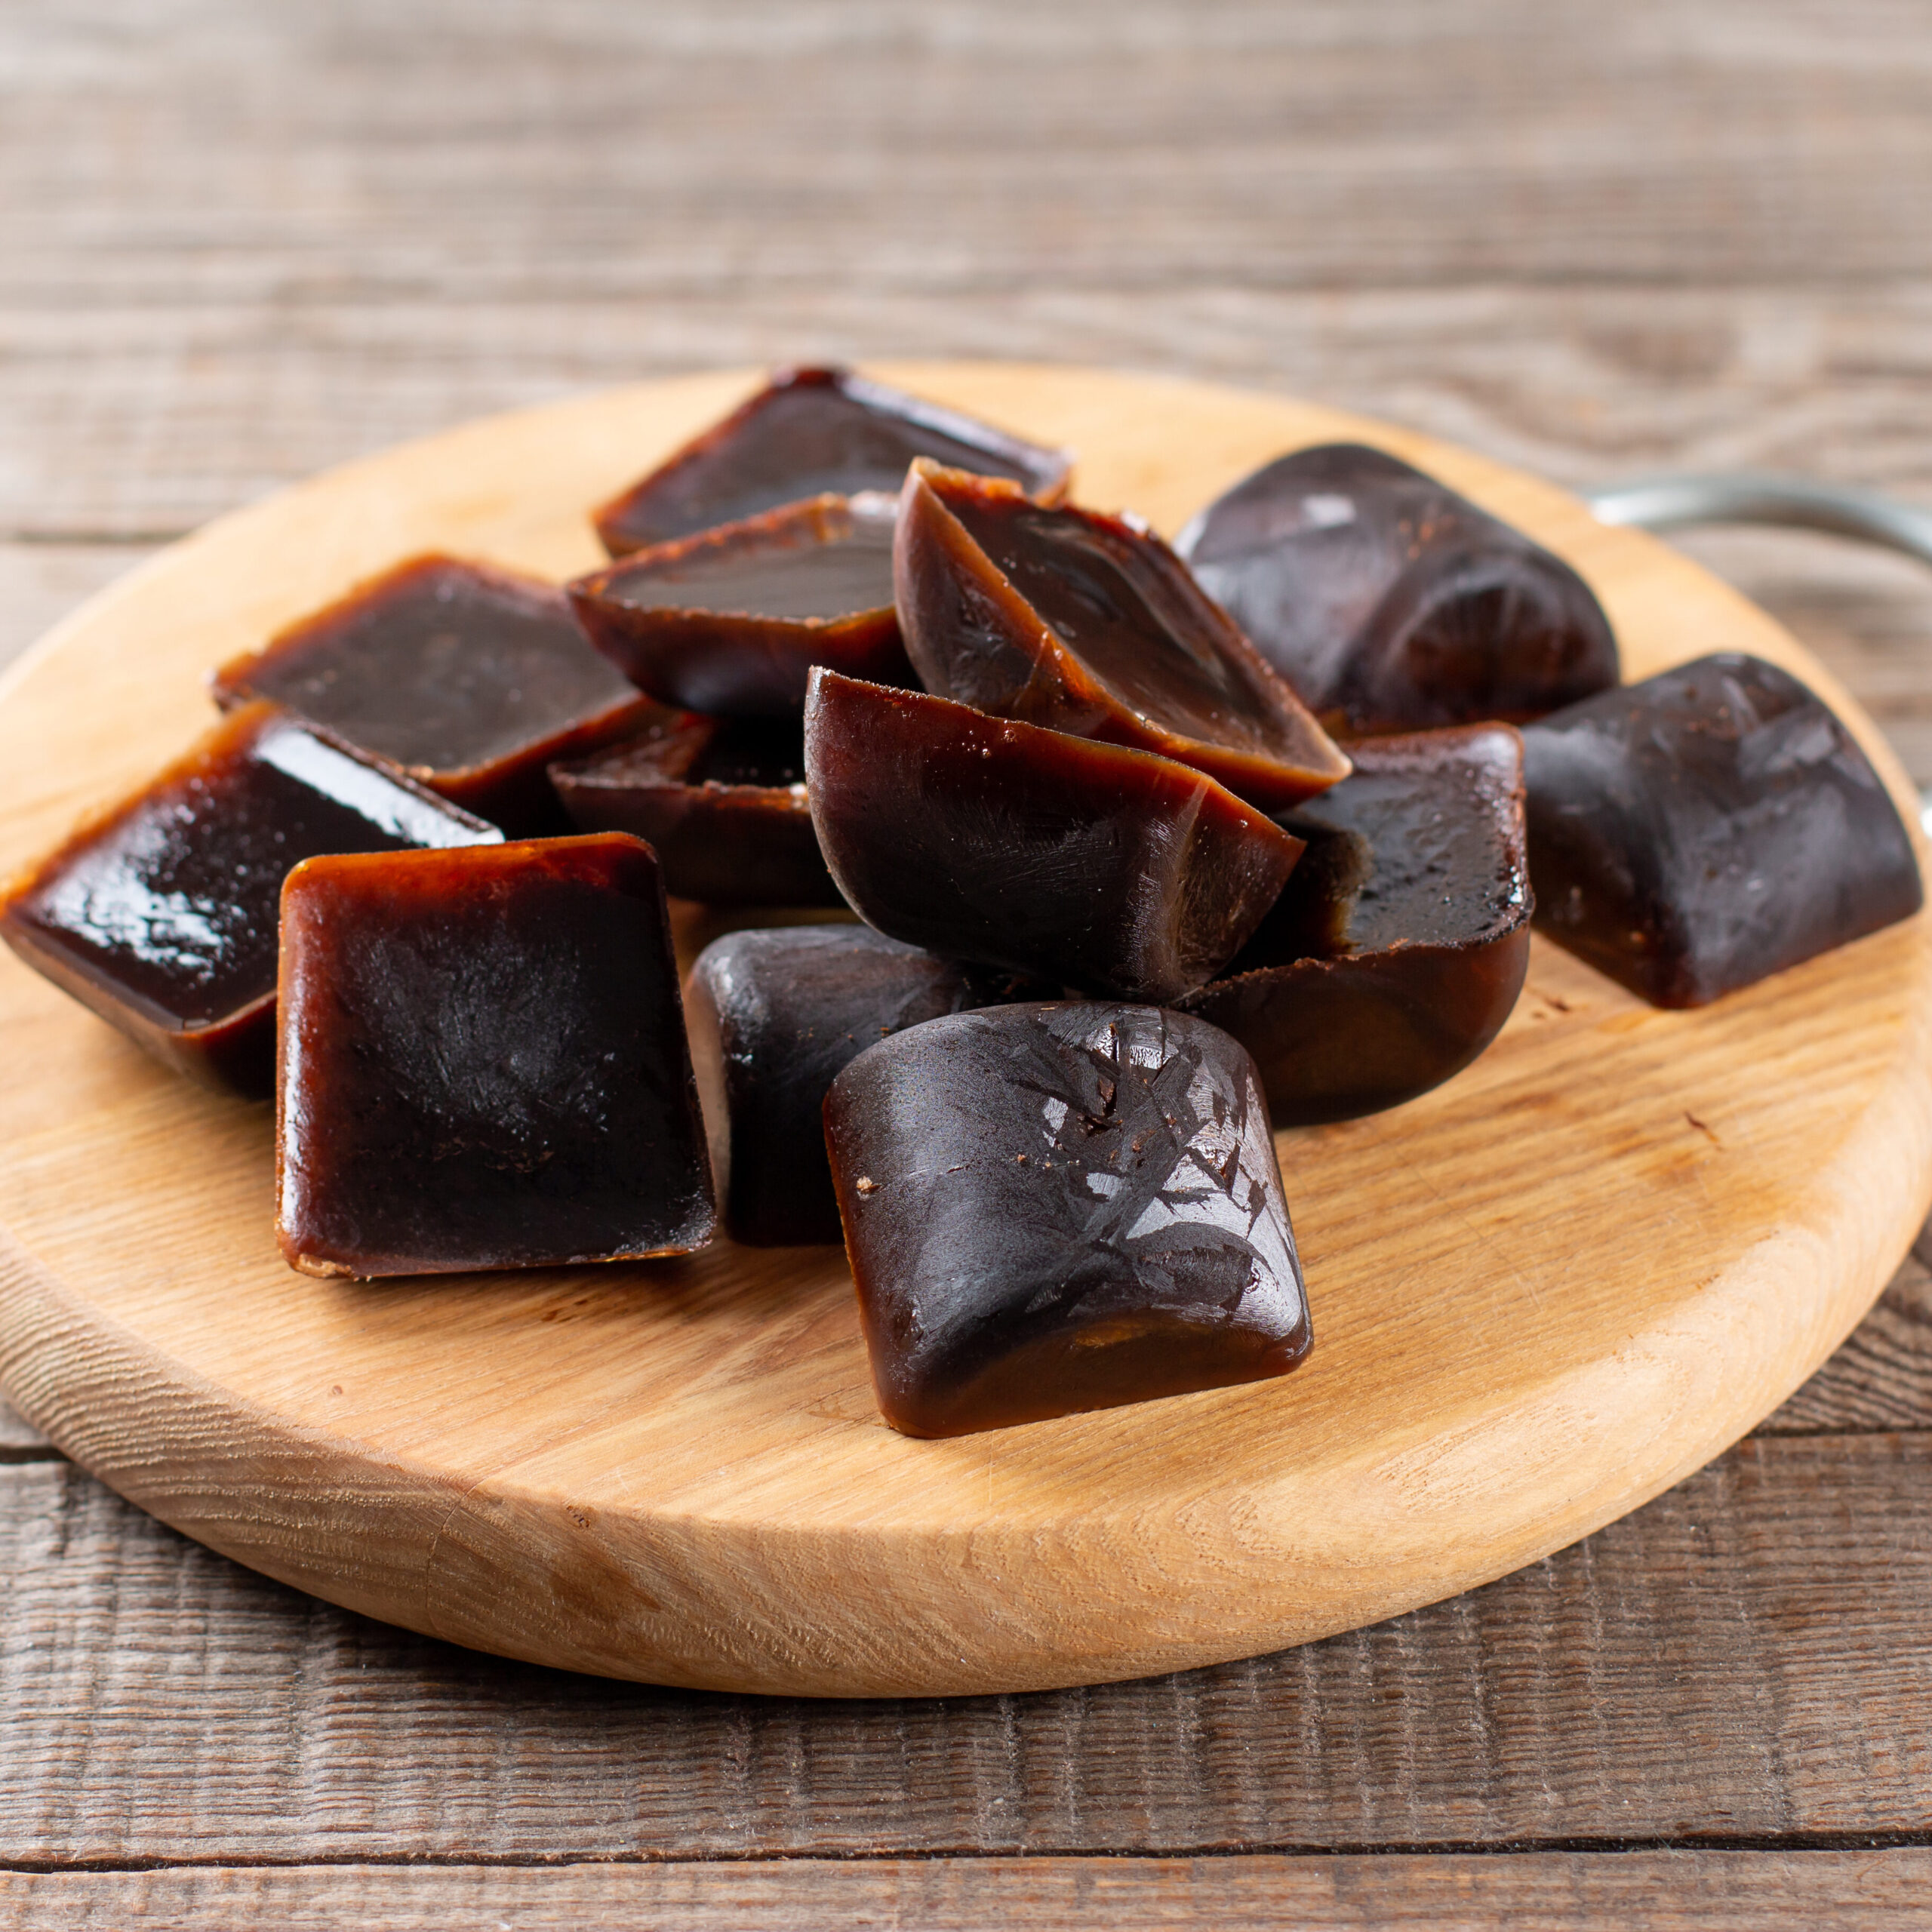
- Place an ice cube in the centre of your raw burger patty as soon as it hits the grill. As it melts, it releases moisture back into the meat, helping keep your burger juicy throughout the cook.
- Try freezing stock with your favourite herbs to create flavoured ice cubes that melt into the patty, adding extra moisture and a savoury profile.
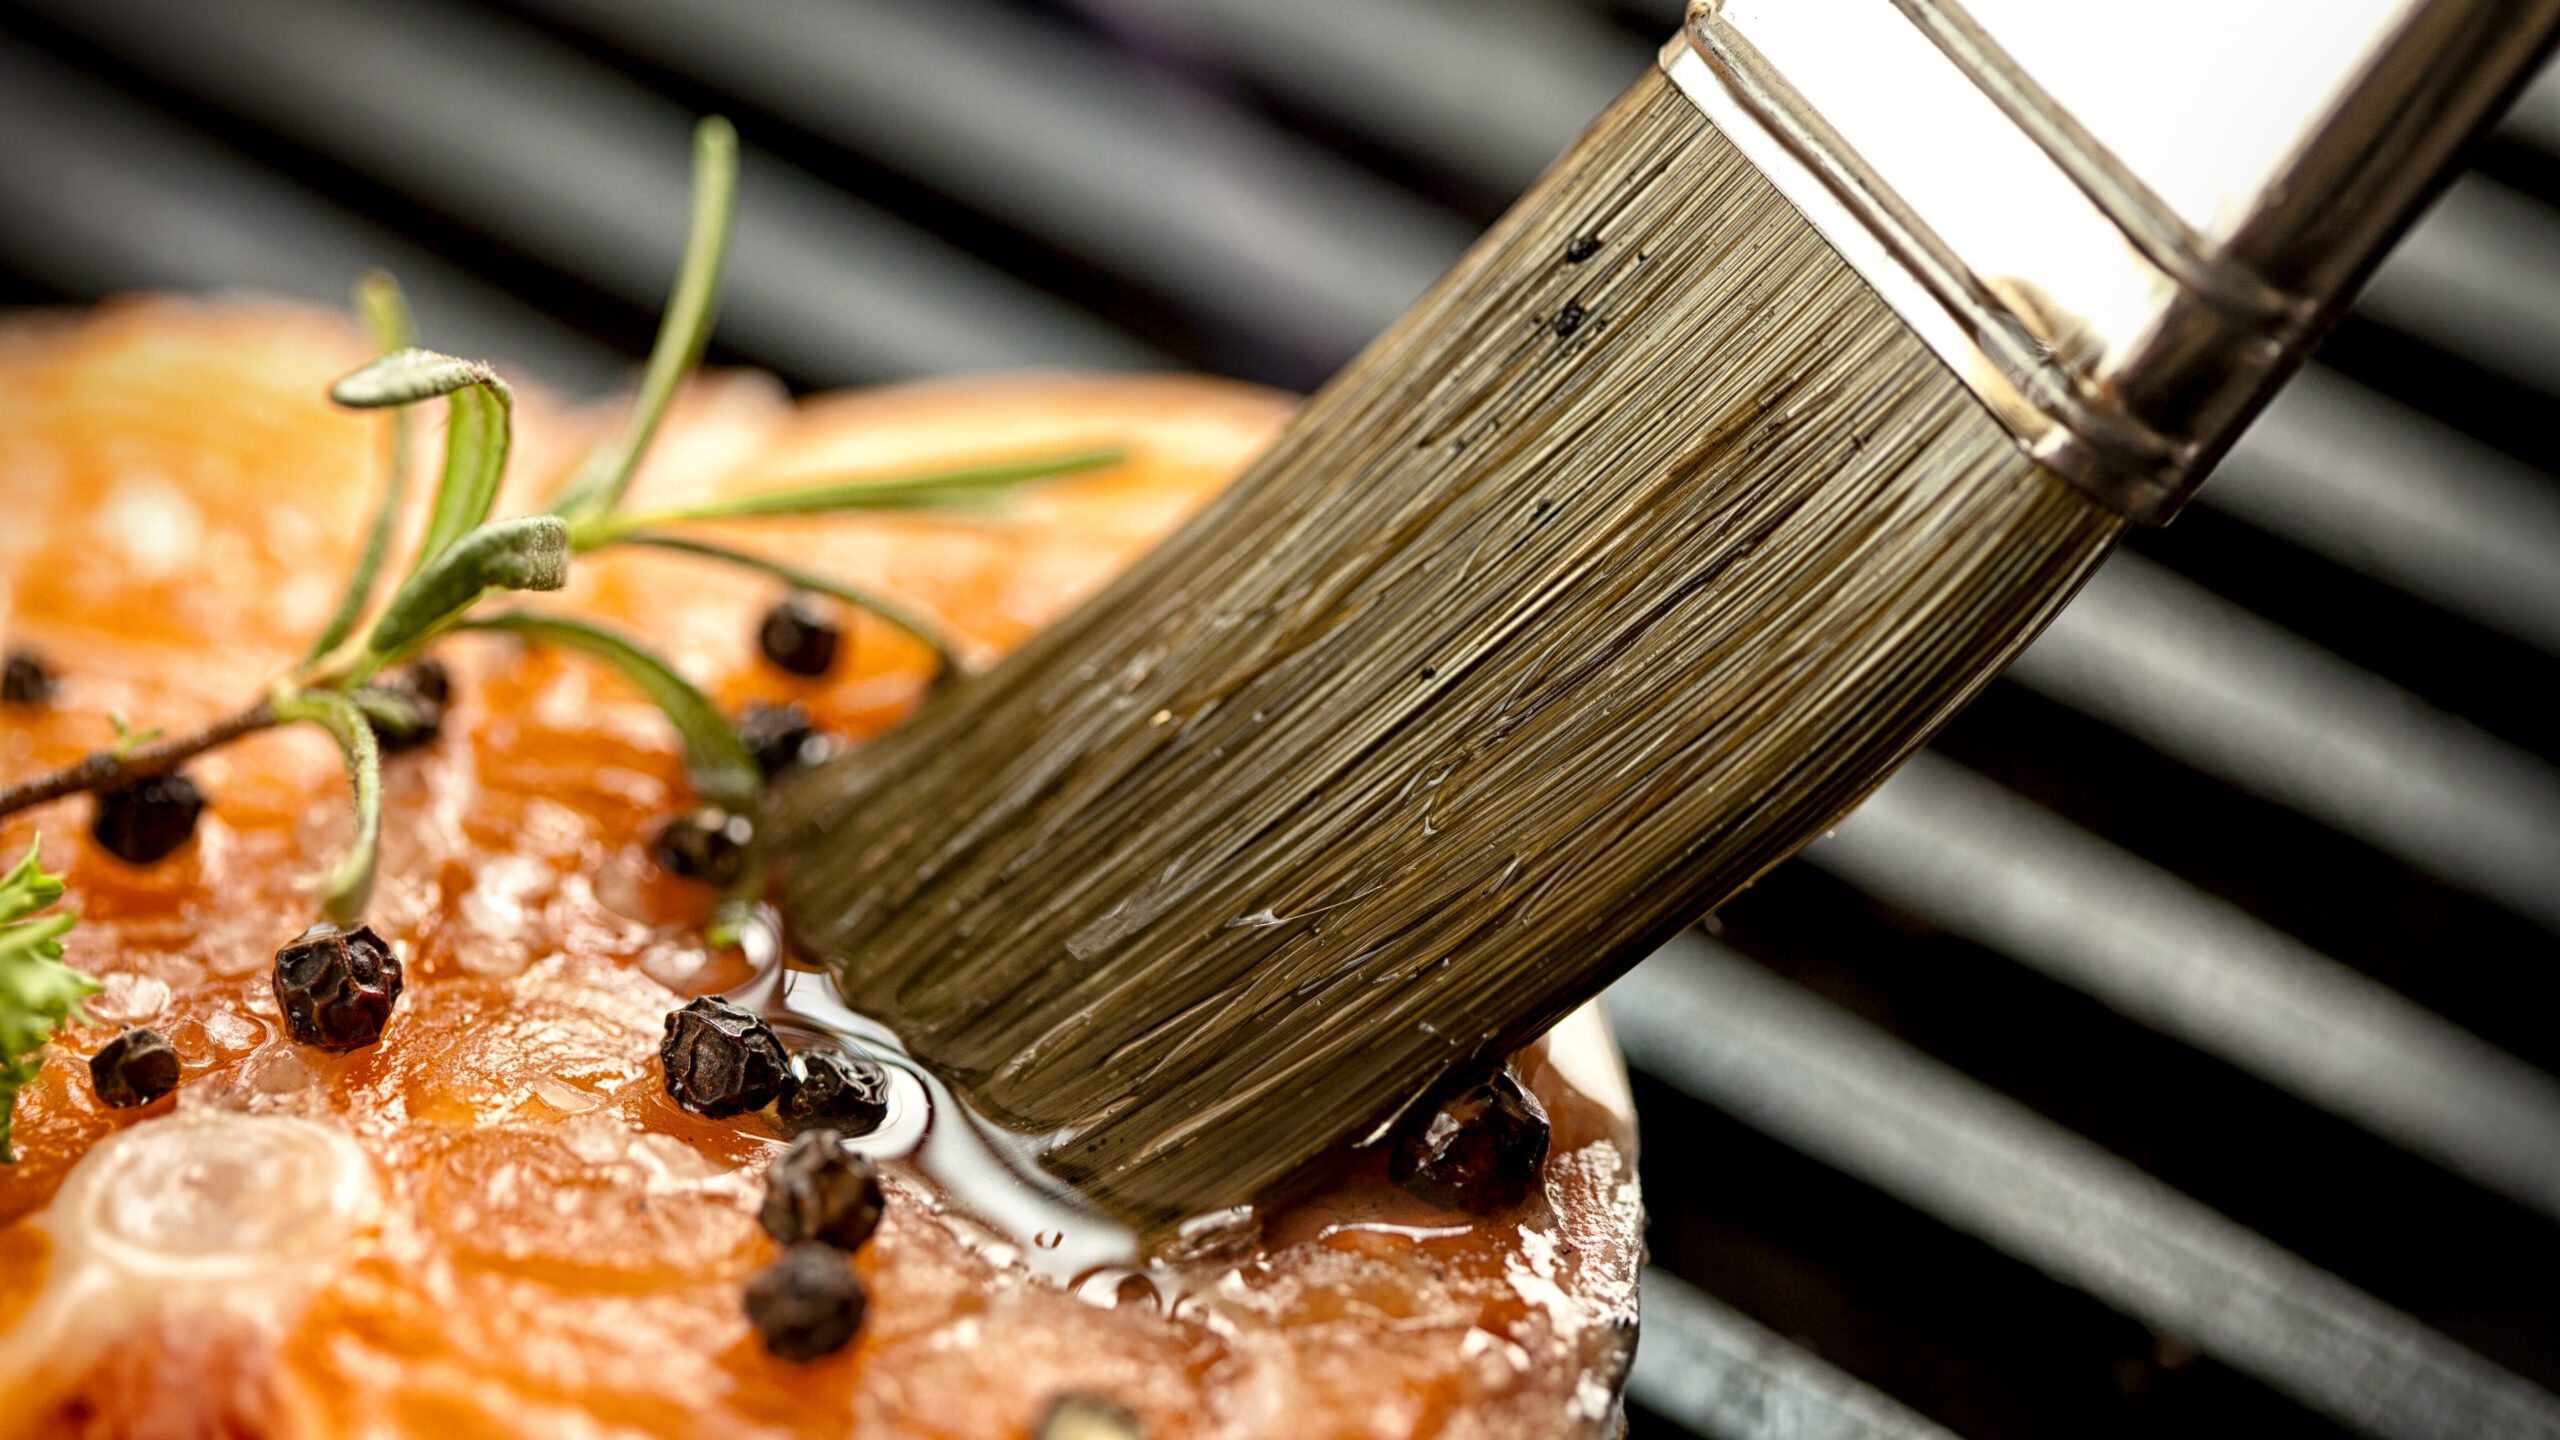
Basting:
- Basting meats and veggies periodically with a sauce or herb‑infused oil helps build char, deepens layers of flavour, and releases aromatics as the food cooks.
- Regular basting also keeps ingredients moist during high‑heat grilling, preventing them from drying out while enhancing overall juiciness.
Getting Smoky Flavour
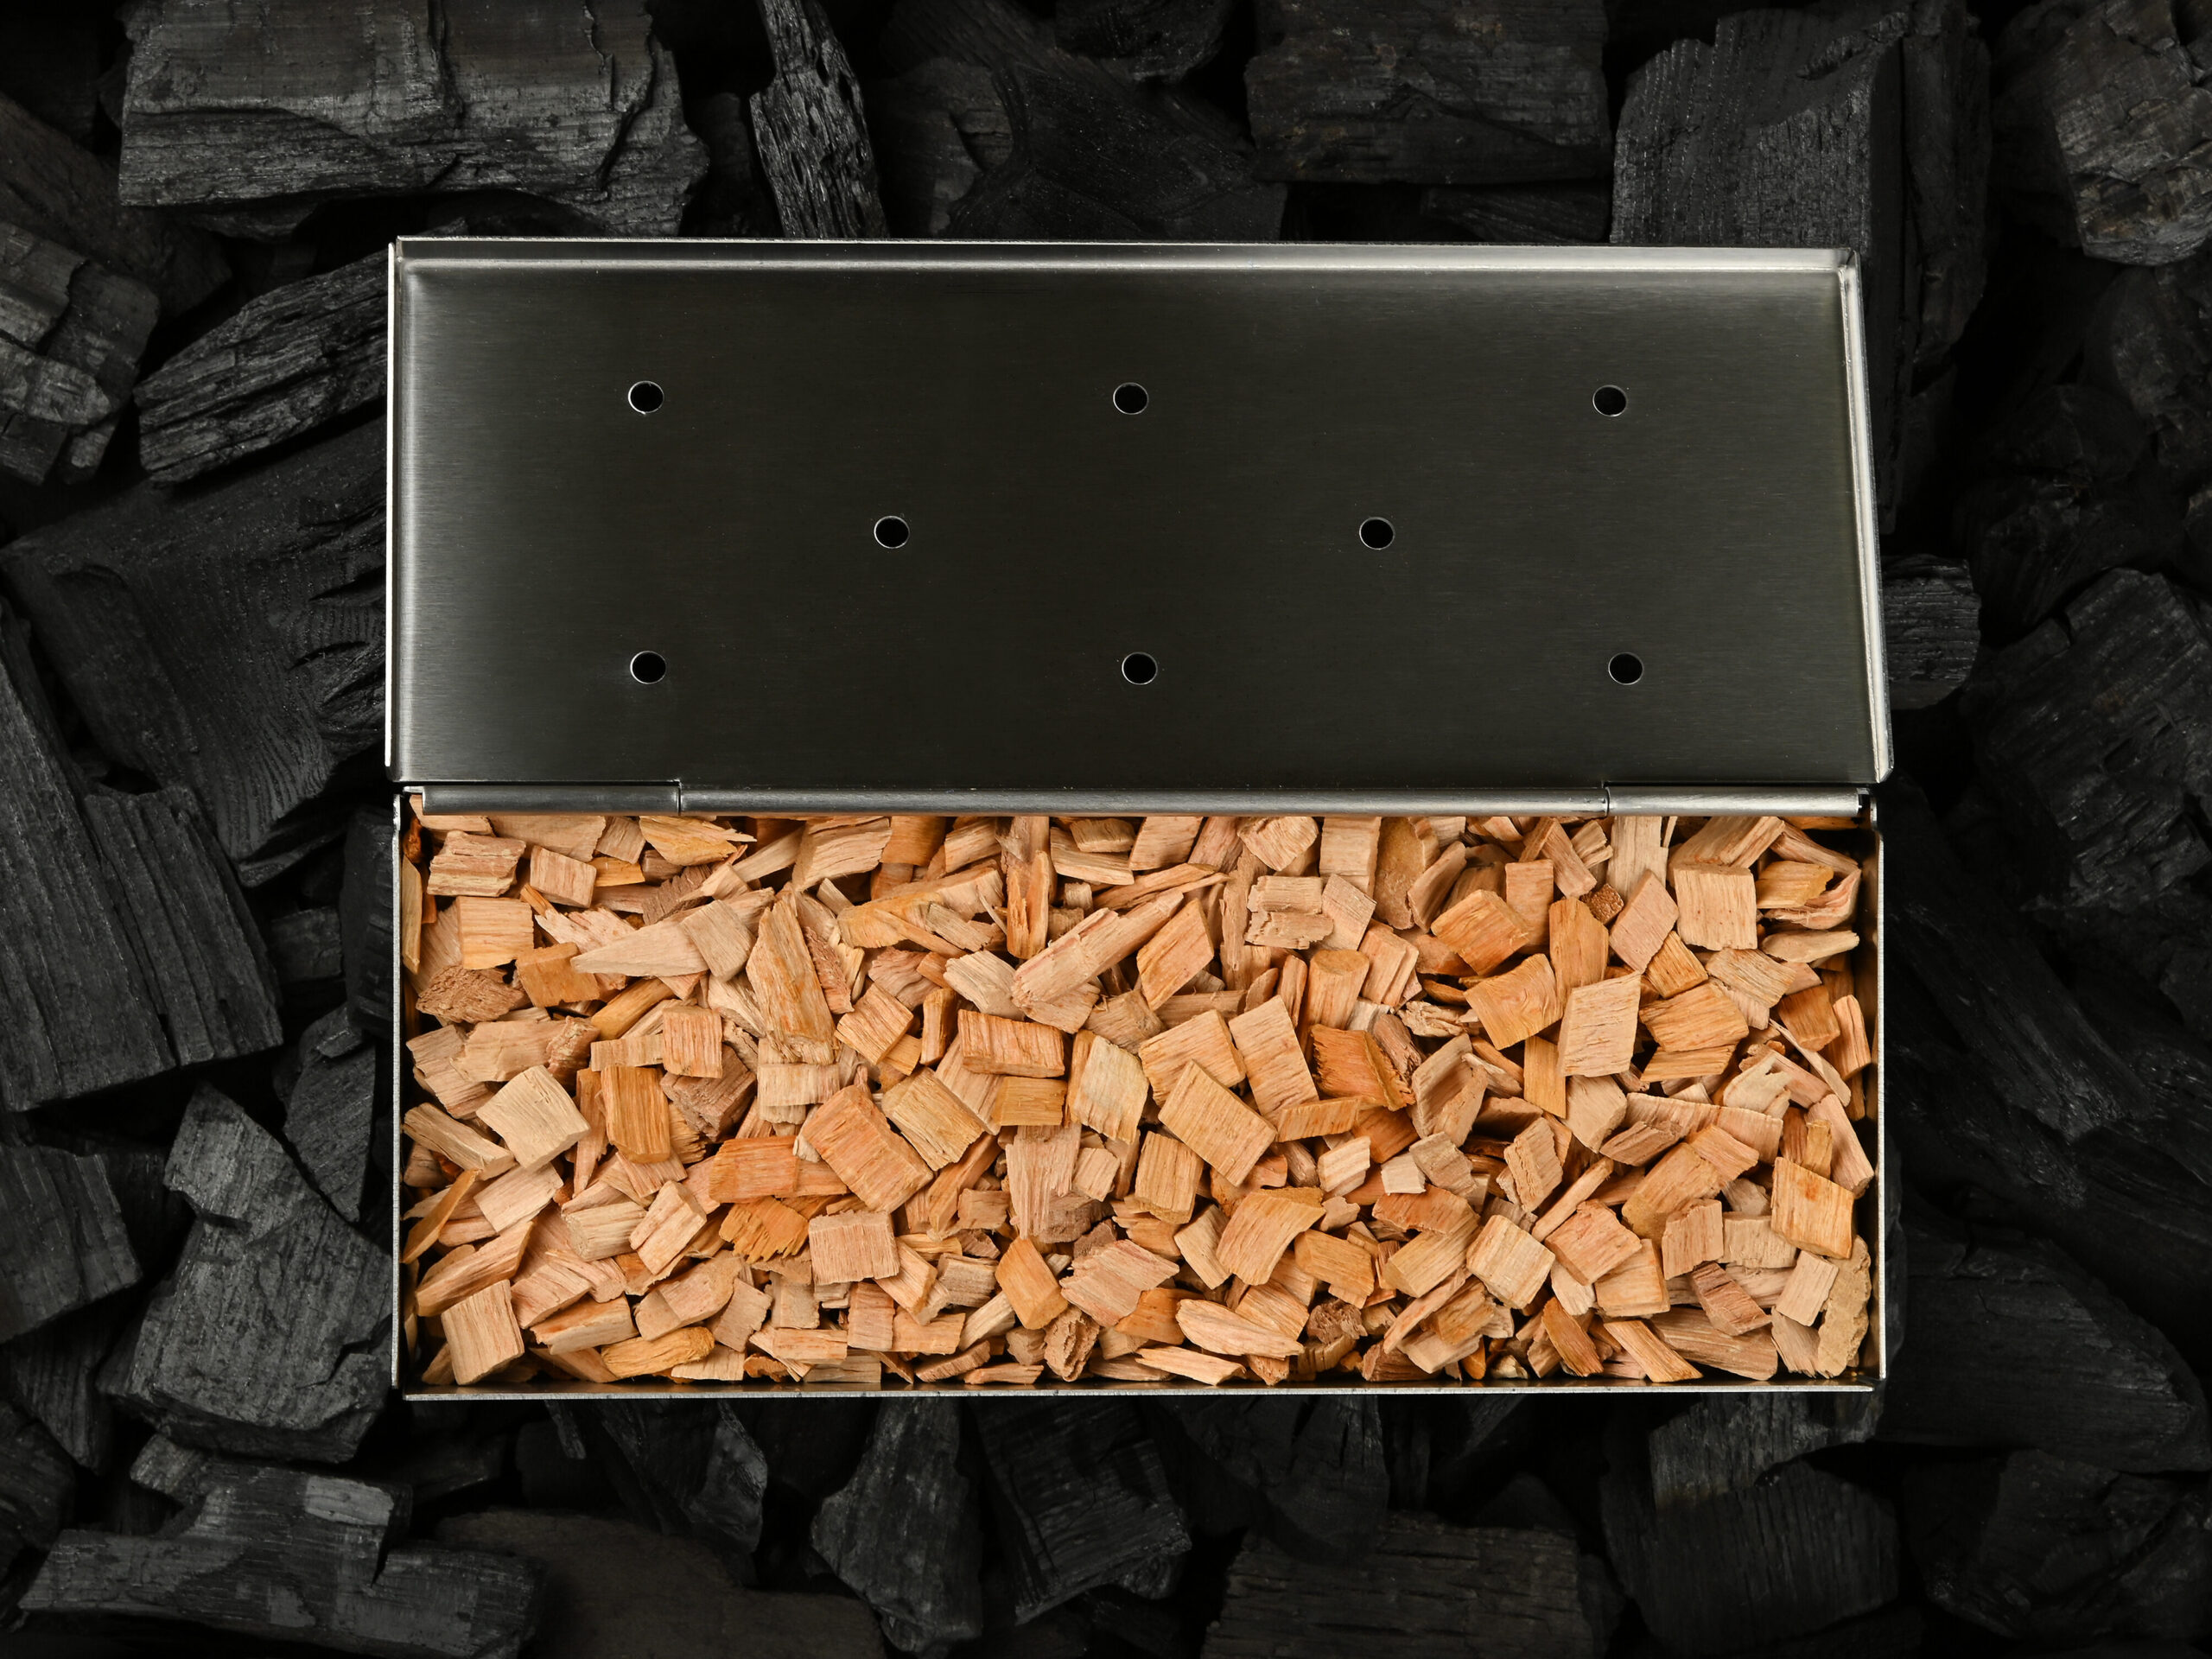
You can turn any grill into a smoker with just a few simple items. Smoked meats are incredibly tender and packed with bold, succulent flavour. Whether you want to slow‑smoke on the grill or add a quick smoky boost to your favourite meats, you only need three essentials: water, a grill‑safe pan or tin, and woodchips.
Direct coal smoking or tin smoking:
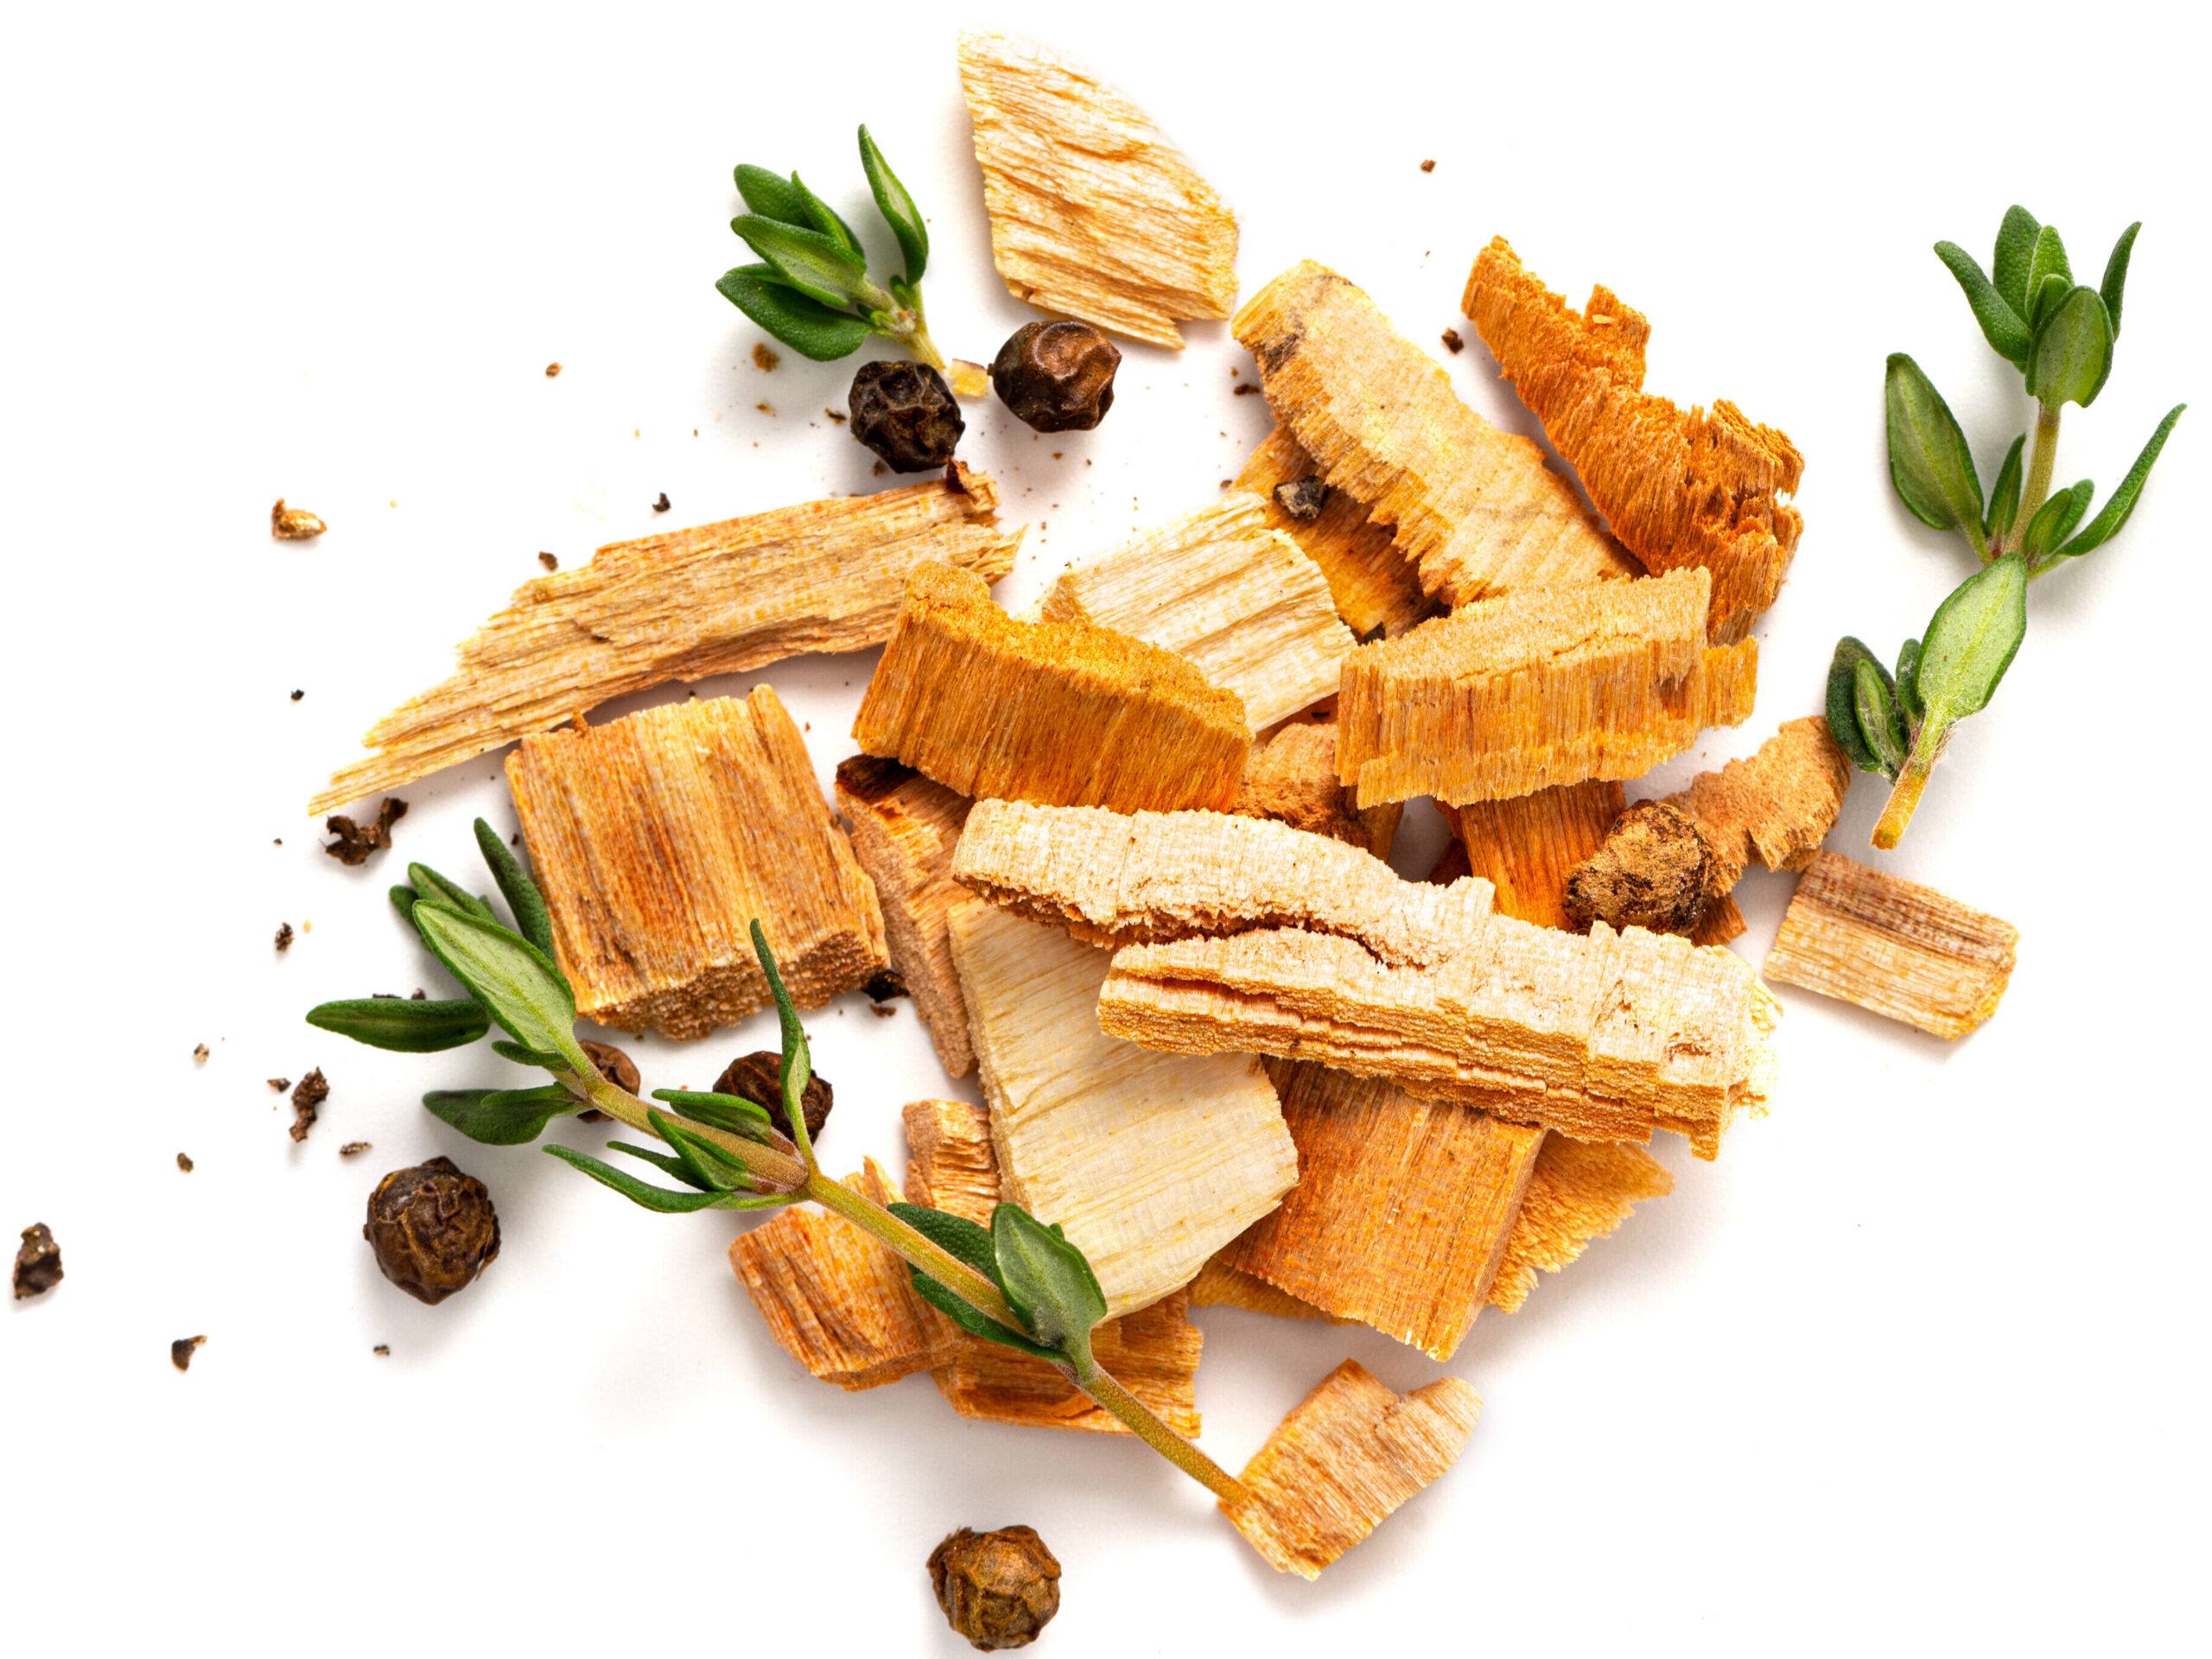
- Soak woodchips in water for at least 1 hour to help them smolder slowly and produce steady smoke.
- For charcoal grills, place the soaked woodchips directly onto the hot coals on one side of the barbecue to create a dedicated smoke zone.
- If you’re slow‑cooking, set a tin of water on the grates above the woodchip side. This helps regulate temperature and keeps ingredients moist while smoking.
- For gas grills, place soaked woodchips in a dedicated tin or a small pan covered with aluminum foil. Poke holes to allow smoke to be released and set on the side of the grill where the heat is set to medium‑high.
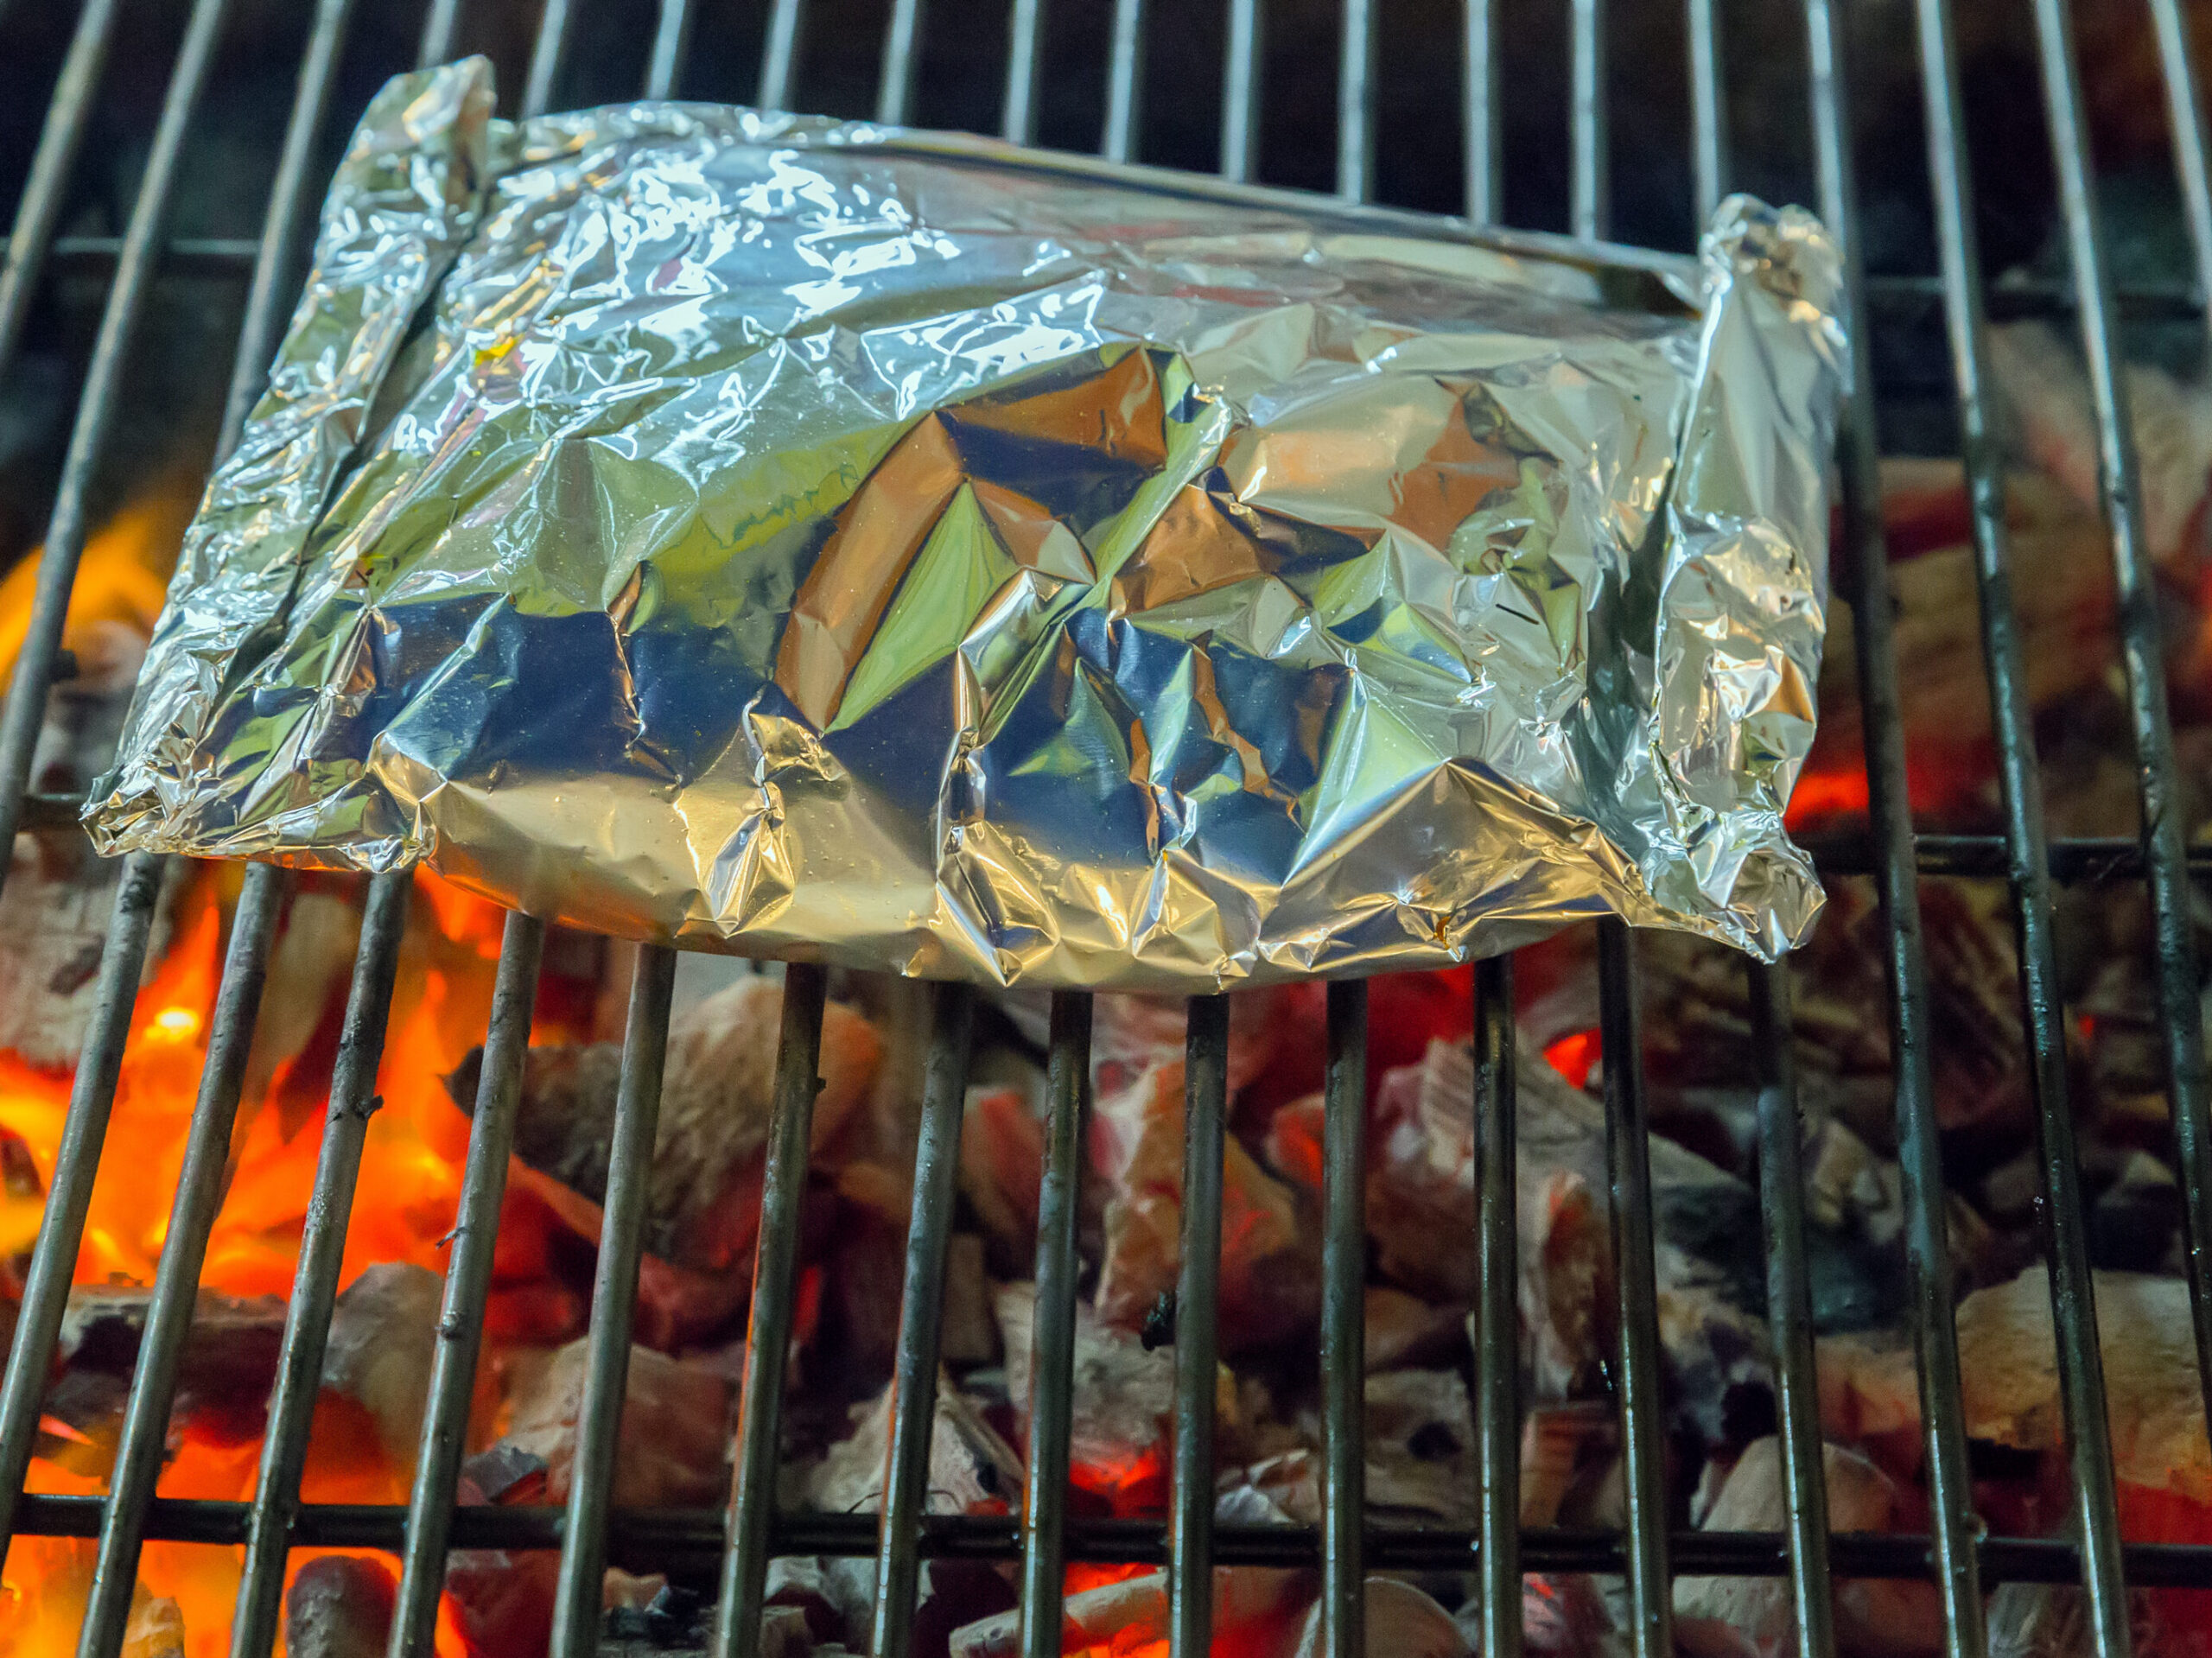
How to make a smoke pouch:
- Form a loose, open‑top pouch/boat out of aluminum foil and fill it with soaked woodchips to help them smolder slowly.
- Position the pouch on one side of your BBQ grill grates or directly on top of the hot coals to generate steady smoke.
- Add fresh herbs or whole dried spices to the pouch to infuse your food with deeper, more complex smoky aromas. Sage, rosemary, and thyme are excellent herbs for barbecuing.
BBQ Accessories to Try
Cast Iron Pans
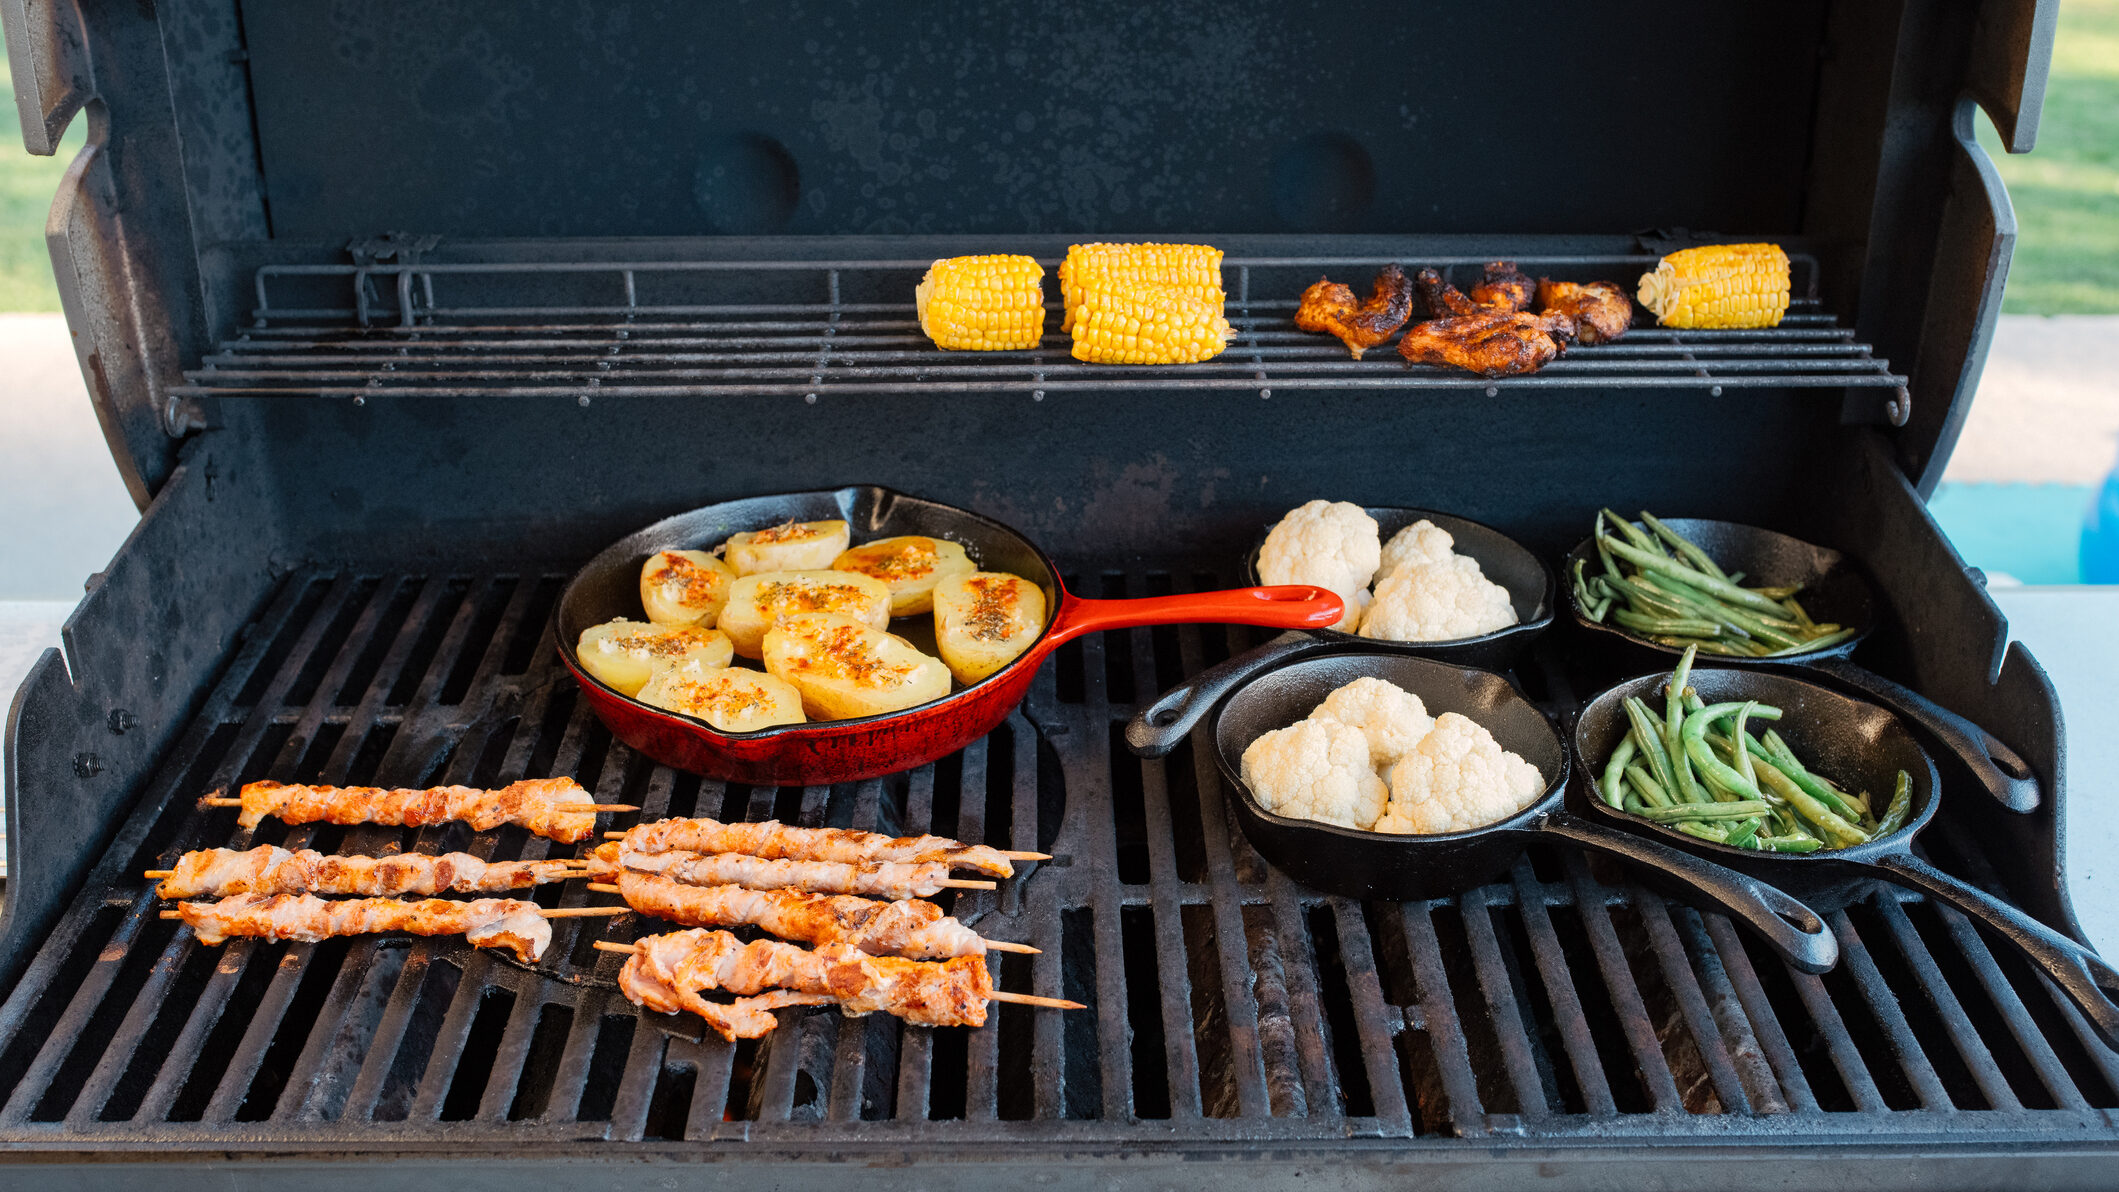
Cooking with a pan on the grill is absolutely possible and incredibly useful. Whether you’re sautéing vegetables, simmering a sauce, or handling more delicate ingredients, a sturdy cast iron pan gets the job done beautifully. You’ll still capture that smoky flavour and achieve a great sear, all while keeping every bit of delicious goodness contained.
Key Attributes:
- Great conductors of heat.
- Excellent for searing.
- Can be thrown right into the oven or on the grill.
- Perfect for delicate or small items like fish and vegetables.
Perforated Steel Pans
These pans are designed with holes that let excess moisture escape, allowing bursts of smoke and flame to rise and flavour whatever you’re cooking. They’re perfect for herbed vegetables, seafood, and other delicate ingredients that benefit from both heat and smoke. Use them just as you would a steel pan on the stovetop only with the added bonus of that irresistible grilled aroma.
Key Attributes:
- Great conductors heat.
- Allows excess moisture to escape to help create caramelization.
- Perfect for delicate or small items like fish and vegetables.
Tip: Make sure you are using an oven mitt or towel when handling any pan over an open heat source.
BBQ Recipes for the Summer
Korean Style Beef Short Ribs
Add some international flair to grill season with our twist on Korean‑inspired BBQ short ribs. Traditionally made with flanken‑cut beef short ribs marinated in a sweet, garlicky, soy‑based sauce, it’s a savoury dish we think you’ll love. Also known as LA galbi—named for its popularity in Los Angeles’ Koreatown—it’s typically enjoyed with rice and banchan (Korean side dishes) like kimchi, pickled vegetables, and fresh salads.
Recipe: Korean Style Beef Short Ribs
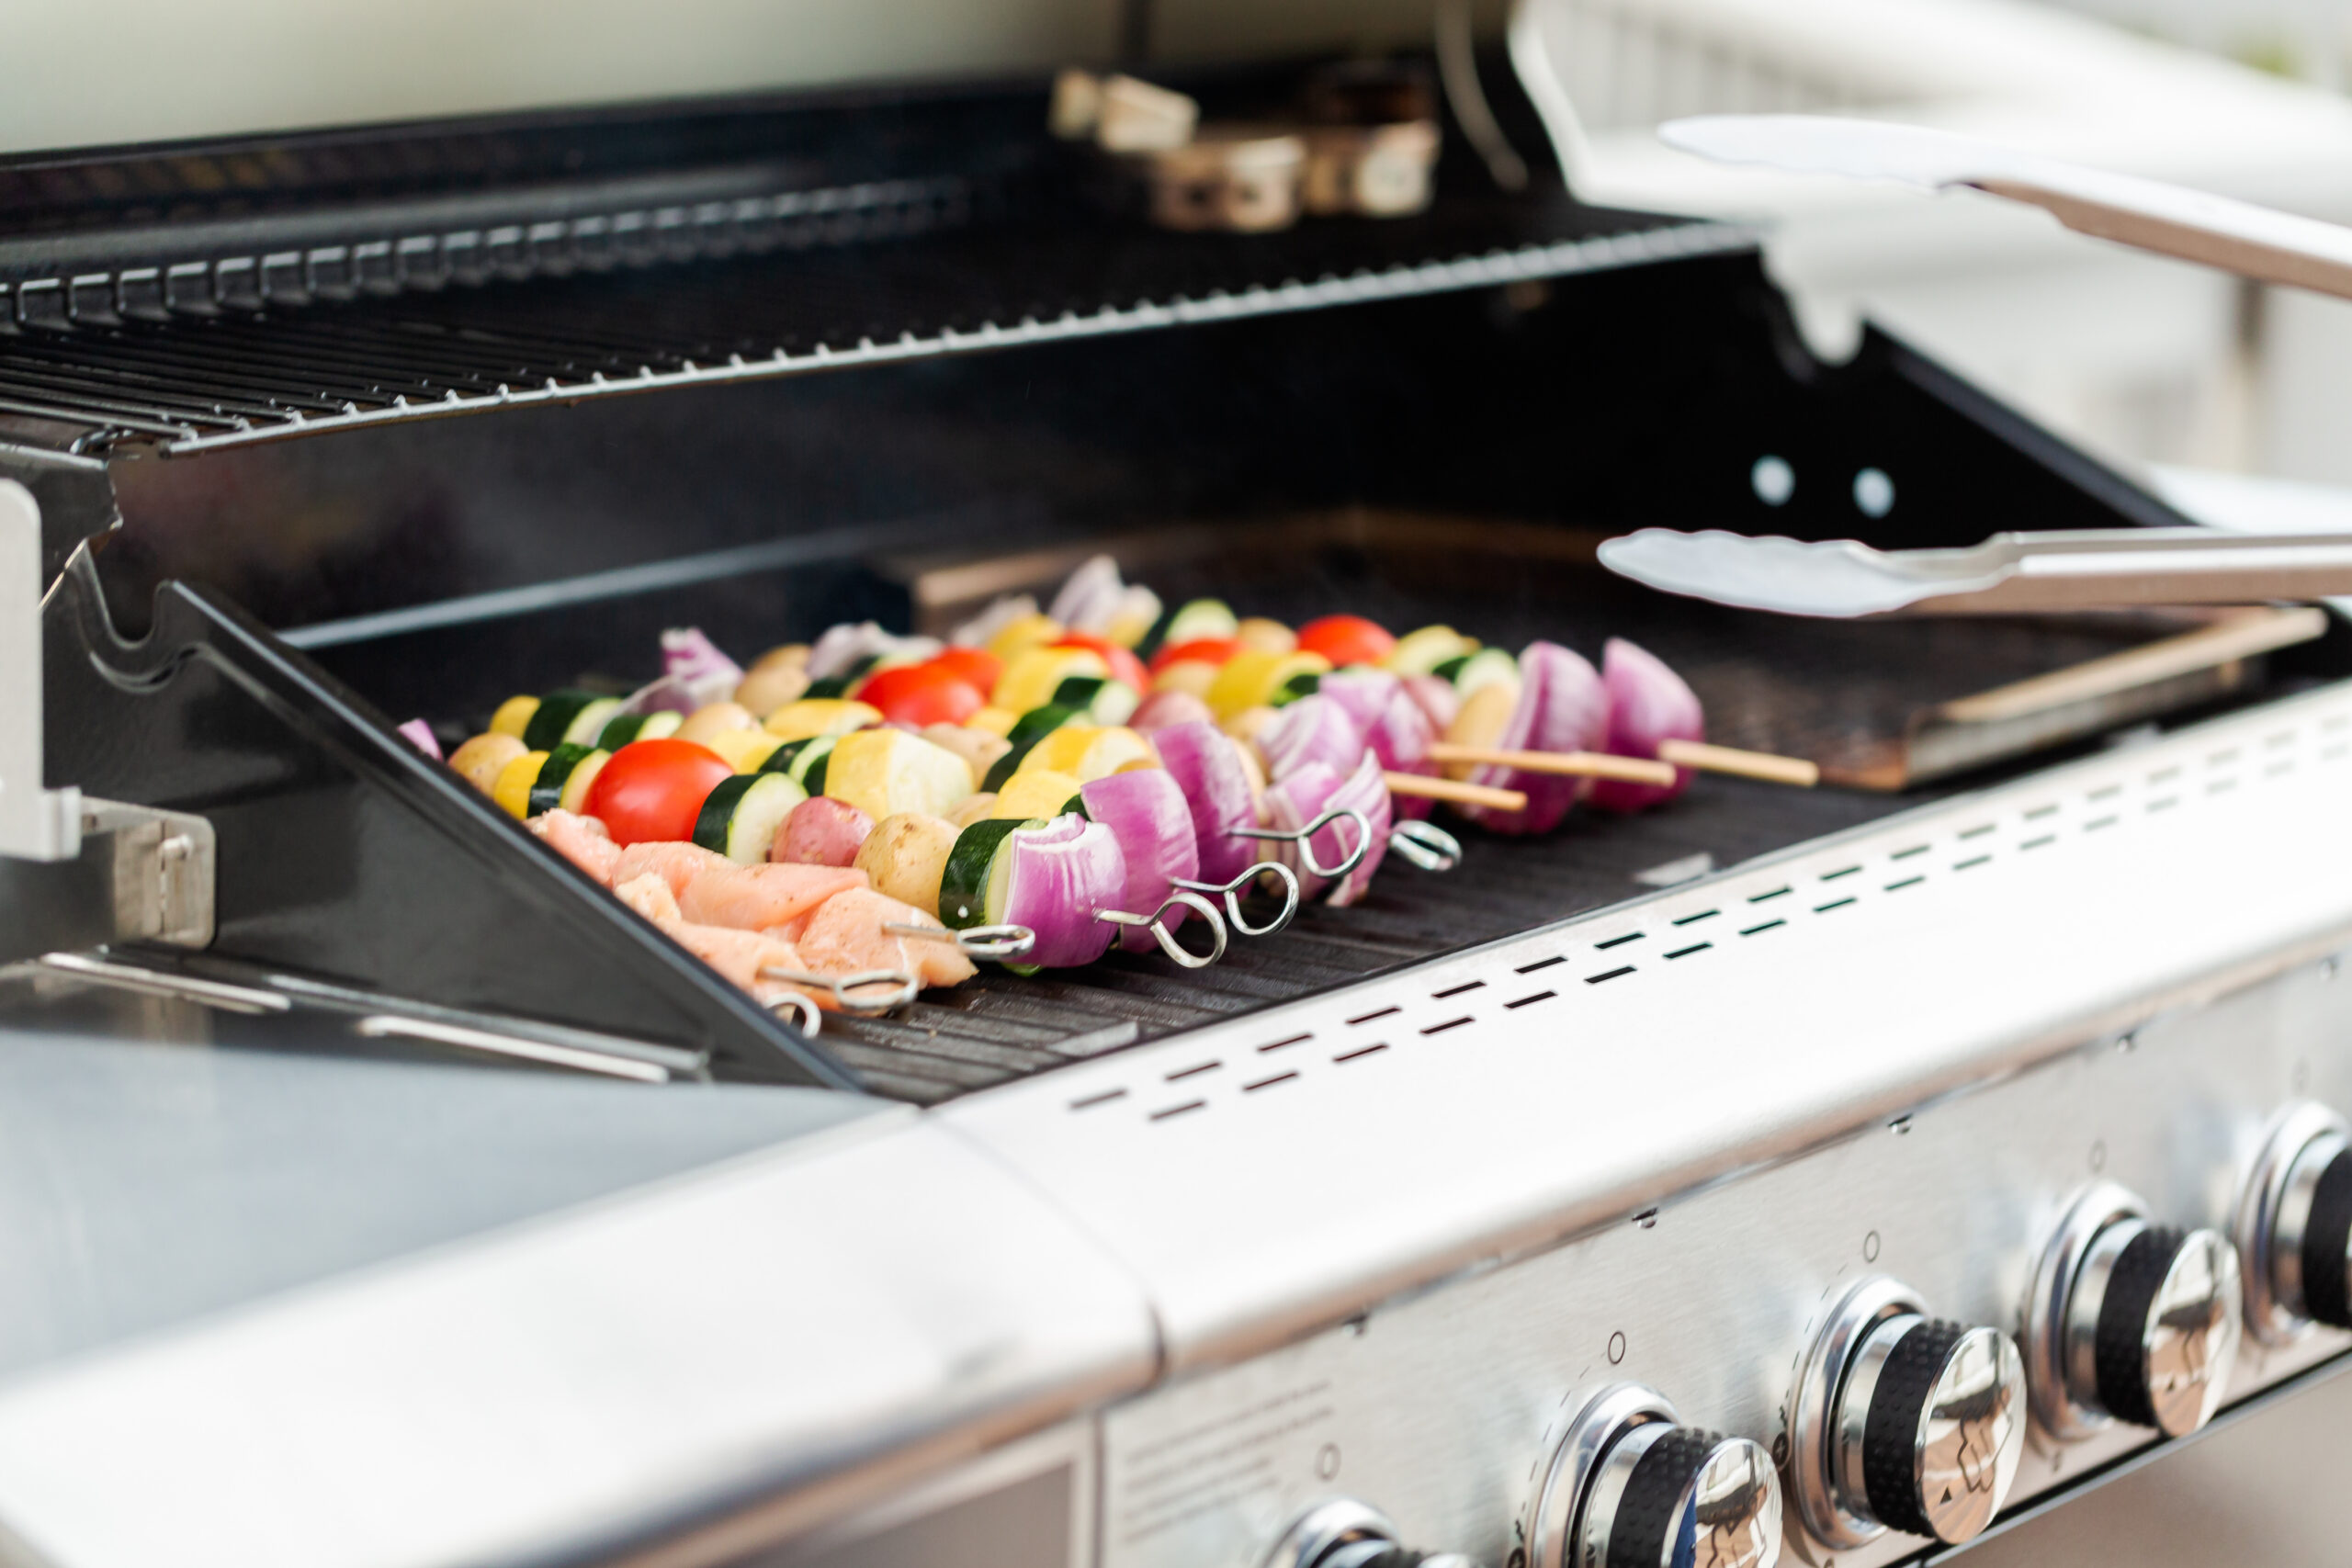
Grilled Teriyaki Salmon Kebabs
Sweet, savoury, and ready in minutes, these kebabs deliver summertime flavour with plenty of sweet umami to spare. We thread the skewers with salmon, lemon slices, and green onion for bright, aromatic Asian‑inspired notes, but you can keep them salmon‑only if you prefer a simpler approach. For added convenience, stop by our Butcher Shop and pick up our plain or seasoned Salmon Kebabs. They’re hand‑stacked in our kitchen using quality salmon and fresh seasonal veggies.
Recipe: Grilled Teriyaki Salmon Kebabs
Dessert on the Grill
Fruit is already a simple, wholesome dessert, but when it hits the grill, it opens your palate to new culinary possibilities. This dish is caramelized, smoky, and paired with a rich, creamy tri-nut dip—made with our Farm Boy™ Tri-Nut Butter Blend featuring a mix of dry roasted Brazil nuts, cashews, and coconut. Not a fan of nuts? Pair your grilled fruit with our locally crafted Gourmet Ice Creams or Gelatos for an equally decadent combination.
Tip: Resist the urge to flip early. Once your fruit naturally releases from the grill grates, you’ll get those beautiful grill marks without tearing.
Recipe: Grilled Fruit Platter with Tri-Nut Dip
Baking Using a Barbecue Grill
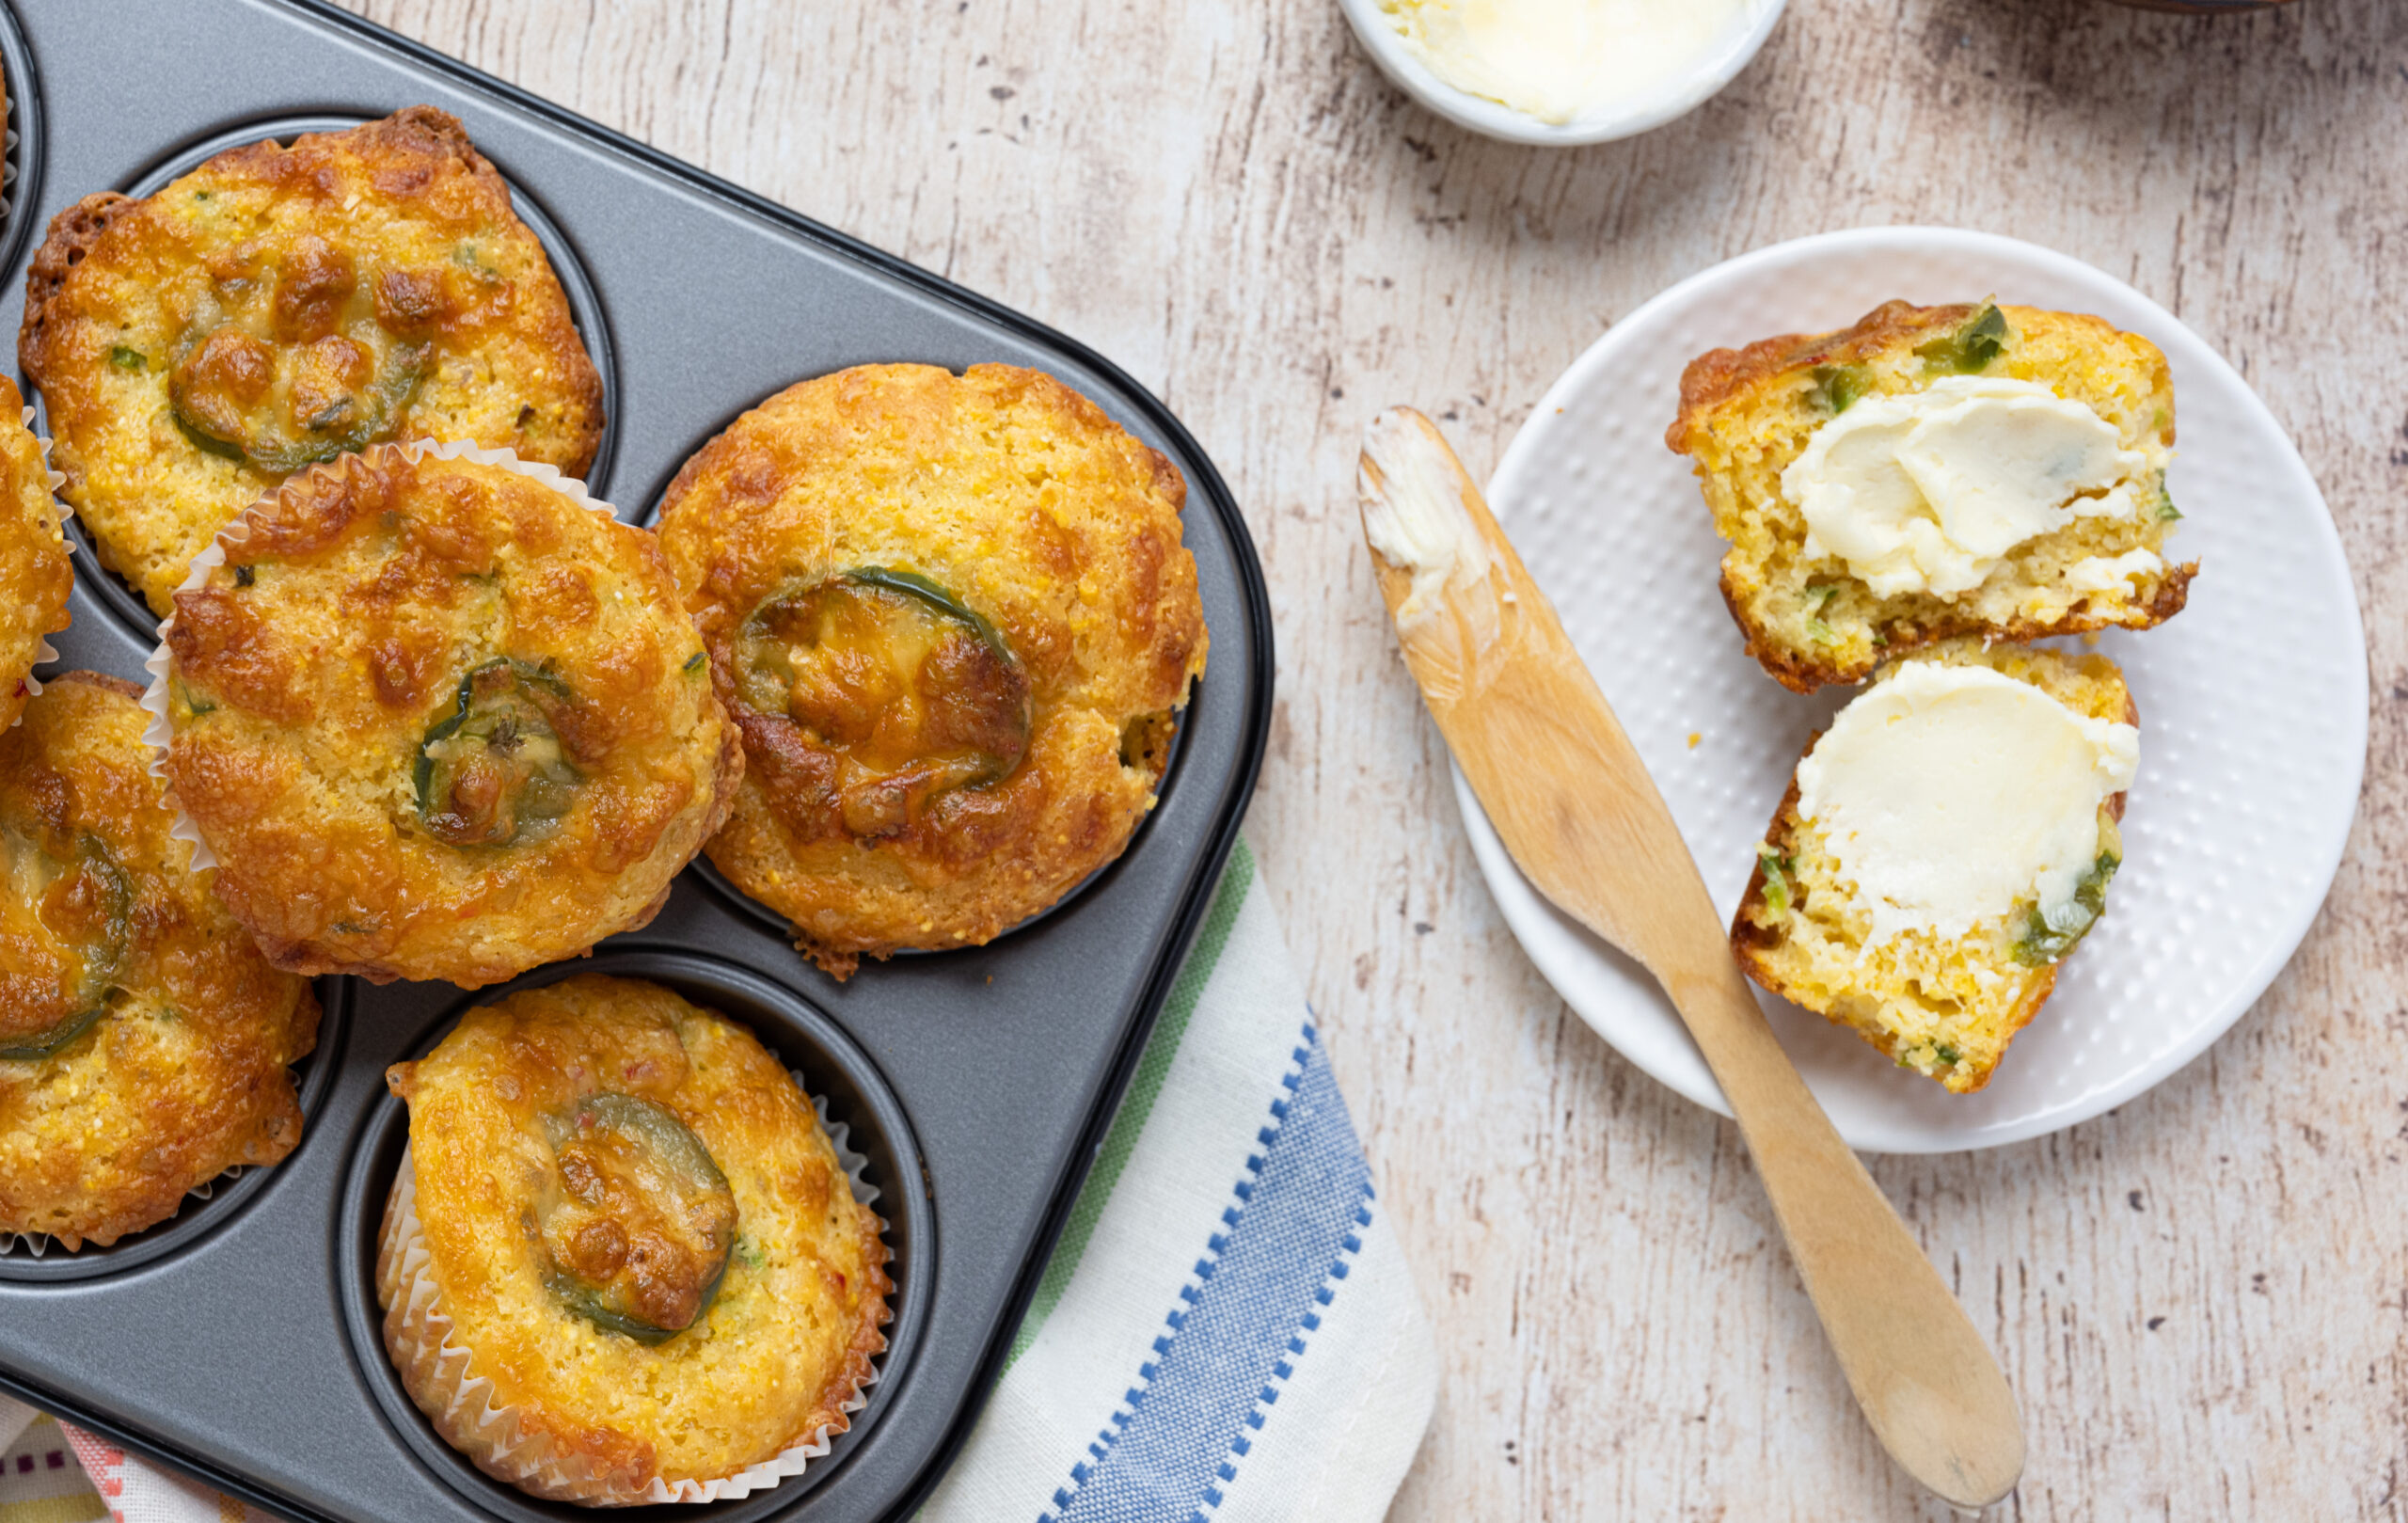
Did you know you can bake on the grill? Whether you’re multitasking, adding a subtle smoky aroma to your pastries, or simply dealing with an oven that’s out of commission, the grill is a fantastic tool for baked goods. Try this recipe for Cheesy Jalapeño Cornmeal Muffins to add a sweet and spicy twist to your next BBQ feast.